crwdns2935425:03crwdne2935425:0
crwdns2931653:03crwdne2931653:0


Separate the bottom layer
-
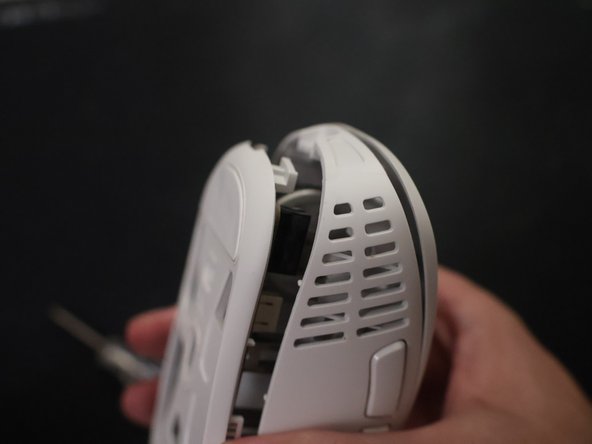
To separate the bottom and top layer, begin lifting the bottom half of the mouse.
-
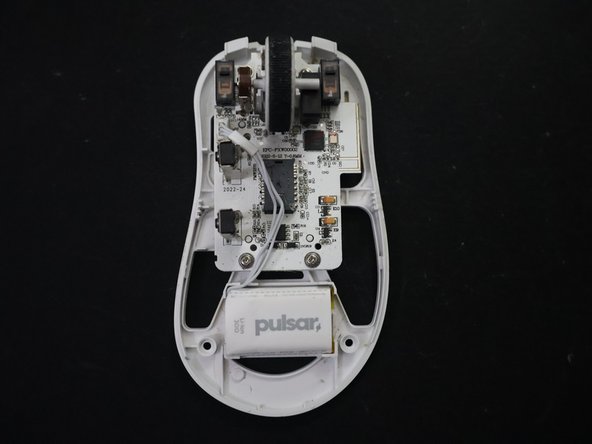
Next, apply some pressure by pushing the top layer towards the hinges seen in the second picture. Then, the entire top layer can be lifted off.
| + | [title] Separate the bottom layer |
|---|---|
| [* black] To separate the bottom and top layer, begin lifting the bottom half of the mouse. | |
| - | [* black] Next, apply some pressure by pushing the |
| + | [* black] Next, apply some pressure by pushing the top layer towards the hinges seen in the second picture. Then, the entire top layer can be lifted off. |
crwdns2944171:0crwdnd2944171:0crwdnd2944171:0crwdnd2944171:0crwdne2944171:0