crwdns2931529:0crwdnd2931529:0crwdnd2931529:0crwdnd2931529:06crwdnd2931529:0crwdne2931529:0
crwdns2935425:023crwdne2935425:0
crwdns2931653:023crwdne2931653:0

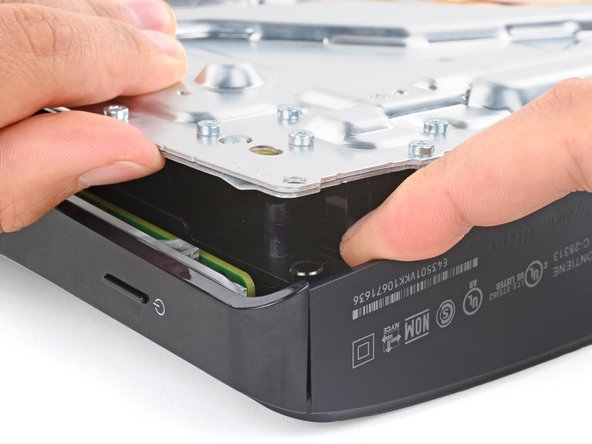
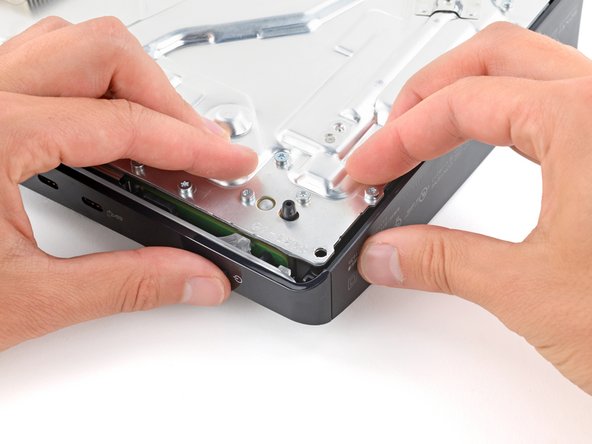


Detach the power supply
-
Keep the main board assembly raised with one hand.
-
With your free hand, insert your finger between the assembly and power supply.
-
Push down on the power supply and lift the assembly to separate them.
crwdns2944171:0crwdnd2944171:0crwdnd2944171:0crwdnd2944171:0crwdne2944171:0