crwdns2933423:0crwdne2933423:0

Remplacement de la pâte thermique de la PlayStation 3 Slim

crwdns2936315:0crwdne2936315:0
crwdns2936317:0crwdne2936317:0
crwdns2931653:021crwdne2931653:0
PlayStation 3 Slim Thermal Paste Replacement, Remove the heat sink: crwdns2935265:00crwdnd2935265:01crwdnd2935265:03crwdne2935265:0 PlayStation 3 Slim Thermal Paste Replacement, Remove the heat sink: crwdns2935265:00crwdnd2935265:02crwdnd2935265:03crwdne2935265:0 PlayStation 3 Slim Thermal Paste Replacement, Remove the heat sink: crwdns2935265:00crwdnd2935265:03crwdnd2935265:03crwdne2935265:0
Remove the heat sink
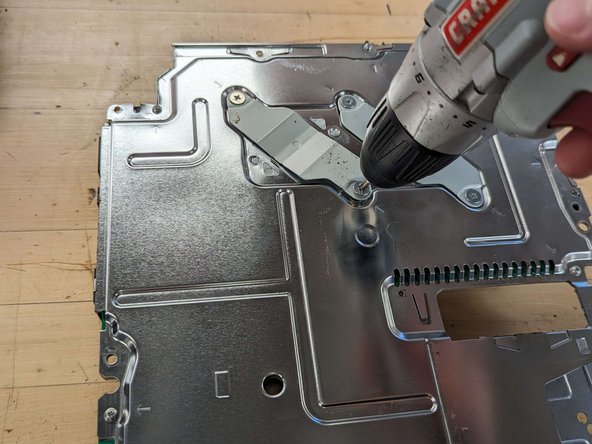
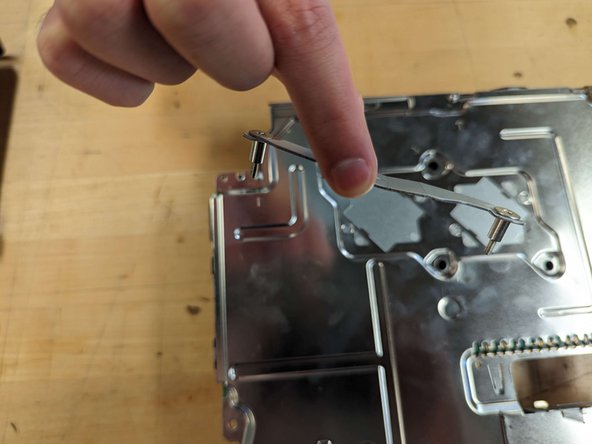
  • Remove the screws holding the heat sink clamps in place using a Phillips #0 screwdriver.

  • When screwing the heat sink clamps back onto the motherboard assembly, follow an alternating pattern by partially screwing each side of a clamp at a time. Do this for both clamps. This ensures that the thermal paste spreads evenly.

Retirez les vis qui maintiennent les fixations du dissipateur thermique en place à l'aide d'un tournevis Phillips #0.

Lorsque vous revissez les fixations du dissipateur thermique sur le montage de la carte mère, suivez un schéma alternatif en vissant partiellement chaque côté d'une fixation à la fois. Procédez ainsi pour les deux fixations. Cela permet de s'assurer que la pâte thermique s'étale uniformément.

crwdns2944171:0crwdnd2944171:0crwdnd2944171:0crwdnd2944171:0crwdne2944171:0