crwdns2933423:0crwdne2933423:0

Lenovo ThinkPad X1 Yoga (3. Generation) SSD tauschen

crwdns2936315:0crwdne2936315:0
crwdns2936319:0crwdne2936319:0
crwdns2931653:04crwdne2931653:0
Lenovo ThinkPad X1 Yoga (3rd Gen) SSD Replacement: crwdns2935265:00crwdnd2935265:01crwdnd2935265:03crwdne2935265:0 Lenovo ThinkPad X1 Yoga (3rd Gen) SSD Replacement: crwdns2935265:00crwdnd2935265:02crwdnd2935265:03crwdne2935265:0 Lenovo ThinkPad X1 Yoga (3rd Gen) SSD Replacement: crwdns2935265:00crwdnd2935265:03crwdnd2935265:03crwdne2935265:0
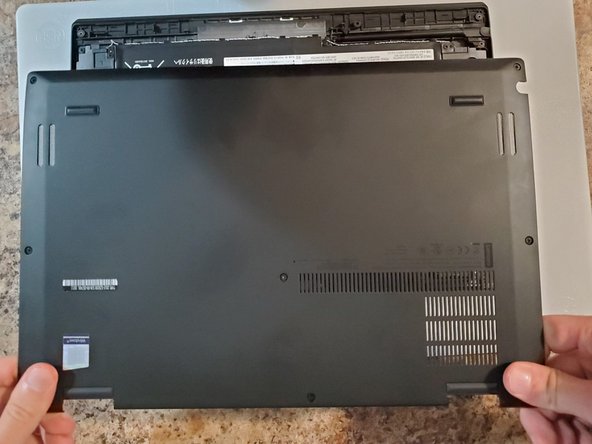
  • Pry the backplate cover away from the laptop using your hands.

  • If you have access to a prying tool, you may use one.

  • Do not bend the backplate. With the screws loosened from the previous step, this panel can be removed with only a little effort.

  • Grasp the plastic shield with your hand and pull it away from the laptop.

  • This will reveal the M.2 slot, where your SSD is installed.

Heble die Abdeckung auf der Rückseite mit den Händen vom Laptop ab.

Wenn du ein Hebelwerkzeug hast, kannst du dieses verwenden.

Verbiege die Abdeckung nicht. Nachdem du die Schrauben aus dem vorherigen Schritt gelöst hast, kannst du diese Abdeckung mit wenig Kraftaufwand entfernen.

Fasse die Kunststoffabdeckung mit deiner Hand und ziehe sie vom Laptop weg.

Dadurch wird der M.2-Steckplatz freigelegt, in dem deine SSD installiert ist.

crwdns2944171:0crwdnd2944171:0crwdnd2944171:0crwdnd2944171:0crwdne2944171:0