crwdns2935425:04crwdne2935425:0
crwdns2931653:04crwdne2931653:0

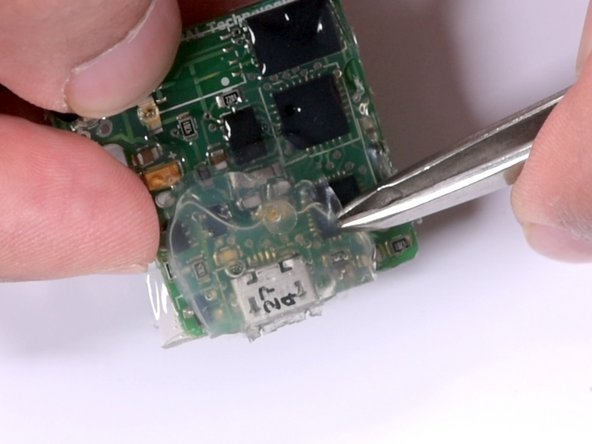


Removing the EVA-based glue from the PCB
-
The EVA glue was removed by scraping using a plastic spudger and then pulling the glue off using tweezers.
-
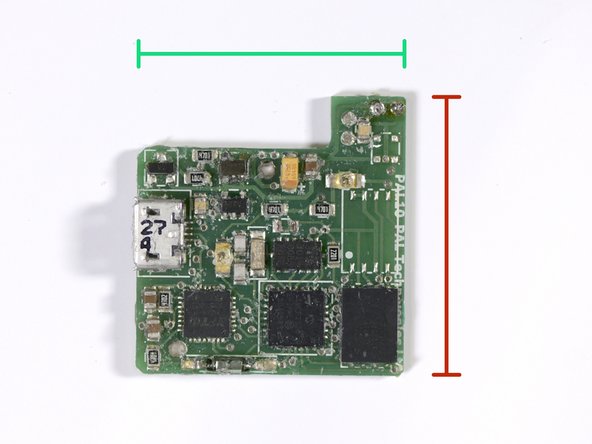
Width: 29mm
-
Length: 30mm
crwdns2944171:0crwdnd2944171:0crwdnd2944171:0crwdnd2944171:0crwdne2944171:0