crwdns2933423:0crwdne2933423:0

Rimozione del foglio di grafite

crwdns2931529:0crwdnd2931529:0crwdnd2931529:0crwdnd2931529:09crwdnd2931529:0crwdne2931529:0

crwdns2935425:06crwdne2935425:0

crwdns2936315:0crwdne2936315:0
crwdns2936321:0crwdne2936321:0
crwdns2931653:06crwdne2931653:0
Graphite Sheet Removal, Remove the graphite sheet: crwdns2935265:00crwdnd2935265:01crwdnd2935265:03crwdne2935265:0 Graphite Sheet Removal, Remove the graphite sheet: crwdns2935265:00crwdnd2935265:02crwdnd2935265:03crwdne2935265:0 Graphite Sheet Removal, Remove the graphite sheet: crwdns2935265:00crwdnd2935265:03crwdnd2935265:03crwdne2935265:0
Remove the graphite sheet
  • A large graphite sheet must be removed and replaced to complete this repair. It connects the upper part of the battery, midframe, and the rear cameras.

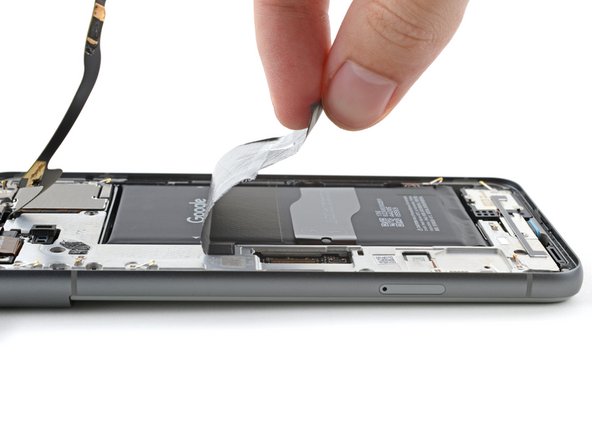
  • Insert the point of a spudger under the top right corner of the graphite sheet and lift until you can grip the sheet with your fingers.

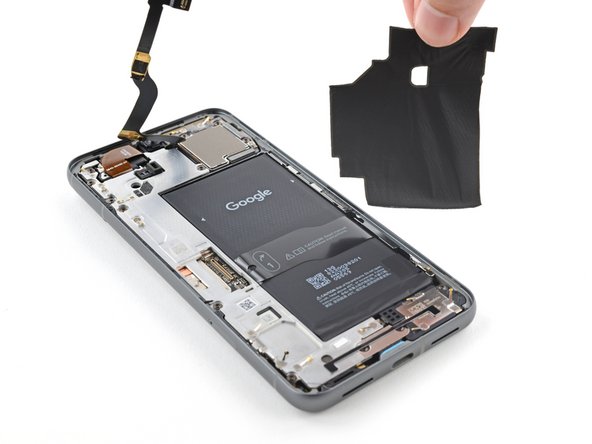
  • Peel up and remove the entire graphite sheet.

  • If your sheet tears, don't worry! Grip the torn parts and remove the sheet in sections.

  • During reassembly, do not reuse the old graphite sheet. Follow this guide to replace the sheet.

Per completare questa riparazione un grande foglio di grafite deve essere rimosso e sostituito. Il foglio connette la parte superiore della batteria, il telaio centrale e le fotocamere posteriori.

Inserisci la punta dello spudger sotto l'angolo in alto a destra del foglio di grafite e alzalo finché non puoi alzarlo con le tue dita.

Tiralo e rimuovi tutto il foglio di grafite.

Se il foglio si strappa, non preoccuparti. Afferra le parti che si sono strappate e rimuovile in sezioni.

Durante il riassemblaggio, non riusare il vecchio foglio di grafite. Segui questa guida per sostituire il foglio.

crwdns2944171:0crwdnd2944171:0crwdnd2944171:0crwdnd2944171:0crwdne2944171:0