crwdns2933423:0crwdne2933423:0

Reemplazo del altavoz tweeter del JBL Boombox

crwdns2931529:0crwdnd2931529:0crwdnd2931529:0crwdnd2931529:03crwdnd2931529:0crwdne2931529:0

crwdns2936315:0crwdne2936315:0
crwdns2936331:0crwdne2936331:0
crwdns2931653:08crwdne2931653:0
JBL Boombox Tweeter Speaker Replacement, Remove the Tweeter Housing: crwdns2935265:00crwdnd2935265:01crwdnd2935265:02crwdne2935265:0 JBL Boombox Tweeter Speaker Replacement, Remove the Tweeter Housing: crwdns2935265:00crwdnd2935265:02crwdnd2935265:02crwdne2935265:0
Remove the Tweeter Housing
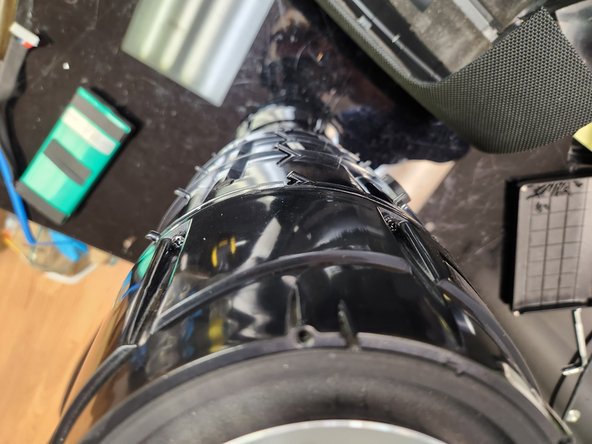
  • There are six screws surrounding each side of the tweeter housing.

  • Unfortunately, due to the angles involved, it is impossible to take a photo that shows all six. Just know they are relatively evenly spaced out.

  • Remove all six screws from each side, twelve total.

  • Keep these screws separate, as they do not match screws used in other steps.

  • Once the screws are removed, be careful not to pull the housing away. The tweeter speakers are still physically connected to the motherboard, and pulling the housings away can damage these connections or the motherboard.

Hay seis tornillos que rodean cada lado de la carcasa del altavoz de agudos.

Desafortunadamente, debido a los ángulos involucrados, es imposible tomar una foto que muestre los seis. Solo recuerda que están relativamente espaciados.

Retire los seis tornillos de cada lado, doce en total.

Mantenga estos tornillos separados, ya que no coinciden con los tornillos utilizados en otros pasos.

Una vez retirados los tornillos, tenga cuidado de no retirar la carcasa. Los altavoces de agudos siguen conectados físicamente a la placa base, y retirar las carcasas podría dañar estas conexiones o la placa base.

crwdns2944171:0crwdnd2944171:0crwdnd2944171:0crwdnd2944171:0crwdne2944171:0