crwdns2933423:0crwdne2933423:0

Retirar el lector de tarjetas.

crwdns2931529:0crwdnd2931529:0crwdnd2931529:0crwdnd2931529:03crwdnd2931529:0crwdne2931529:0

crwdns2936315:0crwdne2936315:0
crwdns2936331:0crwdne2936331:0
crwdns2931653:03crwdne2931653:0
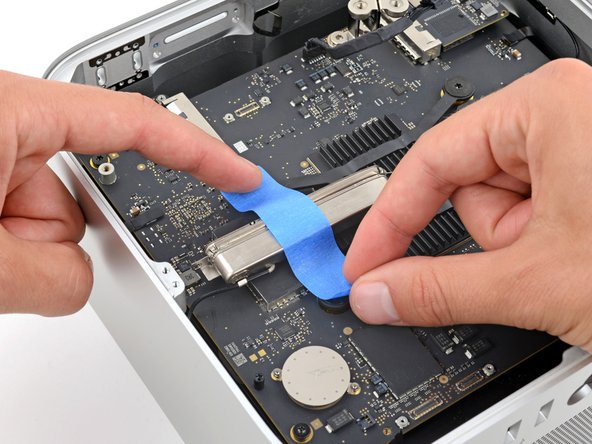
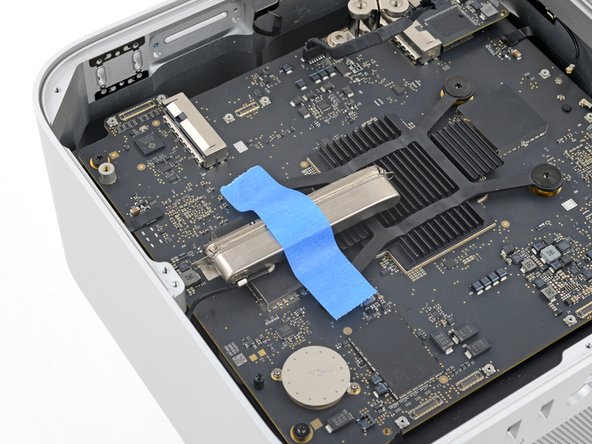
Logic Board Assembly Removal, Secure antenna 1: crwdns2935265:00crwdnd2935265:01crwdnd2935265:03crwdne2935265:0 Logic Board Assembly Removal, Secure antenna 1: crwdns2935265:00crwdnd2935265:02crwdnd2935265:03crwdne2935265:0 Logic Board Assembly Removal, Secure antenna 1: crwdns2935265:00crwdnd2935265:03crwdnd2935265:03crwdne2935265:0
Secure antenna 1
  • Be very careful not to scrape off or damage any surface mounted components during this step.

  • Gently lay antenna 1 to the left of the heatsink, being careful not to strain its cable.

  • Secure antenna 1 to the logic board with a strip of painters tape.

  • Stick the tape to the heatsink screws, not directly onto the board.

Tenga mucho cuidado de no raspar ni dañar ningún componente montado en la superficie durante este paso.

Coloque con cuidado la antena 1 a la izquierda del disipador de calor, teniendo cuidado de no tensar el cable.

Asegure la antena 1 a la placa lógica con una tira de cinta de pintor.

Pegue la cinta a los tornillos del disipador de calor, no directamente a la placa.

crwdns2944171:0crwdnd2944171:0crwdnd2944171:0crwdnd2944171:0crwdne2944171:0