crwdns2933423:0crwdne2933423:0

Extracción de la placa de E/S combinada

crwdns2931529:0crwdnd2931529:0crwdnd2931529:0crwdnd2931529:07crwdnd2931529:0crwdne2931529:0

crwdns2935425:01crwdne2935425:0

crwdns2936315:0crwdne2936315:0
crwdns2936331:0crwdne2936331:0
crwdns2931653:01crwdne2931653:0
Combination I/O Board Removal, Remove the cable cover screws: crwdns2935265:00crwdnd2935265:01crwdnd2935265:02crwdne2935265:0 Combination I/O Board Removal, Remove the cable cover screws: crwdns2935265:00crwdnd2935265:02crwdnd2935265:02crwdne2935265:0
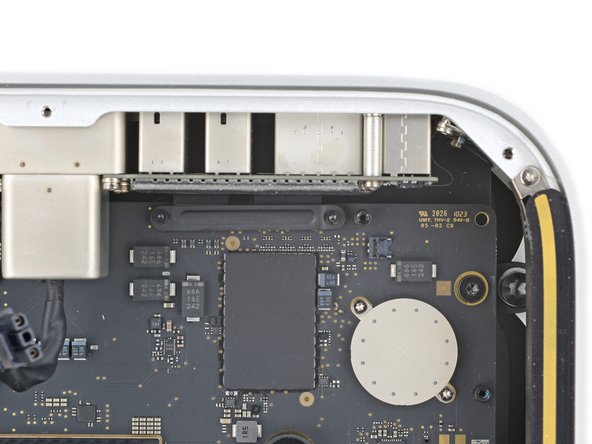
Remove the cable cover screws
  • Use a T3 Torx screwdriver to remove the two 2 mm‑long screws securing the I/O board cable cover.

  • Use a T8 Torx screwdriver to remove the standoff screw just to the right of the cover.

Utilice un destornillador Torx T3 para quitar los dos tornillos de 2 mm de largo que sujetan la cubierta del cable de la placa de E/S.

Utilice un destornillador Torx T8 para quitar el tornillo separador justo a la derecha de la cubierta.

crwdns2944171:0crwdnd2944171:0crwdnd2944171:0crwdnd2944171:0crwdne2944171:0