crwdns2933423:0crwdne2933423:0

HP ENVY x360 - 15-cn0003ca CPU Fan Replacement

crwdns2935425:08crwdne2935425:0

crwdns2936315:0crwdne2936315:0
crwdns2936311:0crwdne2936311:0
crwdns2931653:08crwdne2931653:0
HP ENVY x360 - 15-cn0003ca CPU Fan Replacement: crwdns2935265:00crwdnd2935265:01crwdnd2935265:02crwdne2935265:0 HP ENVY x360 - 15-cn0003ca CPU Fan Replacement: crwdns2935265:00crwdnd2935265:02crwdnd2935265:02crwdne2935265:0
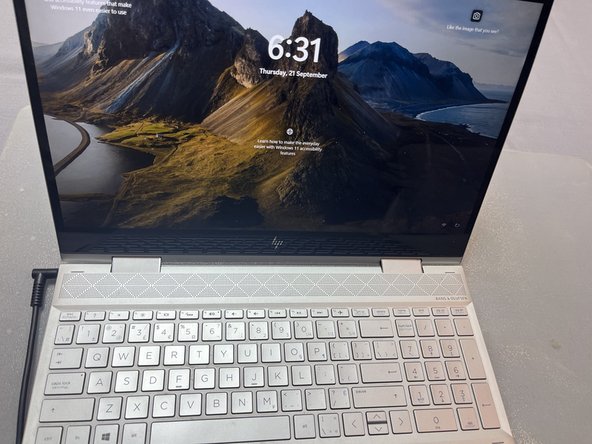
  • Test and Verify: Power on the laptop and ensure that the new fan is functioning correctly

  • Listen closely to the area where the fan is located. You should hear the fan's operation, which typically sounds like a soft humming or whirring noise.

  • Be alert to any unusual noises, such as loud clicking, grinding, or rattling sounds, that could indicate a problem with the fan installation.

  • Pay attention to the laptop's temperature as the new fan should help regulate it. You can use software tools or the BIOS settings to monitor the CPU and GPU temperatures and ensure they are within safe operating ranges.

  • Testing Under Load (Optional): Consider running tasks that will put a significant load on the CPU and GPU of your laptop, such as video rendering or gaming. Monitor the laptop's temperature and fan performance under these conditions to ensure the fan can handle the increased heat production.

  • Final Verification: If you find that the fan is functioning correctly, you can consider the fan replacement a success.

  • Addressing Issues (if necessary): If you encounter any problems, address these issues promptly. This may involve revisiting the fan installation to ensure everything is properly connected and aligned.

crwdns2935429:0crwdne2935429:0

crwdns2935429:0crwdne2935429:0

crwdns2935429:0crwdne2935429:0

crwdns2935429:0crwdne2935429:0

crwdns2935429:0crwdne2935429:0

crwdns2935429:0crwdne2935429:0

crwdns2935429:0crwdne2935429:0

crwdns2944171:0crwdnd2944171:0crwdnd2944171:0crwdnd2944171:0crwdne2944171:0