crwdns2933423:0crwdne2933423:0

iFixit Precision Bit Driver Magneet Vervanging

crwdns2936315:0crwdne2936315:0
crwdns2936313:0crwdne2936313:0
crwdns2931653:03crwdne2931653:0
iFixit Precision Bit Driver Magnet Replacement, Inserting the new magnets: crwdns2935265:00crwdnd2935265:01crwdnd2935265:03crwdne2935265:0 iFixit Precision Bit Driver Magnet Replacement, Inserting the new magnets: crwdns2935265:00crwdnd2935265:02crwdnd2935265:03crwdne2935265:0 iFixit Precision Bit Driver Magnet Replacement, Inserting the new magnets: crwdns2935265:00crwdnd2935265:03crwdnd2935265:03crwdne2935265:0
Inserting the new magnets
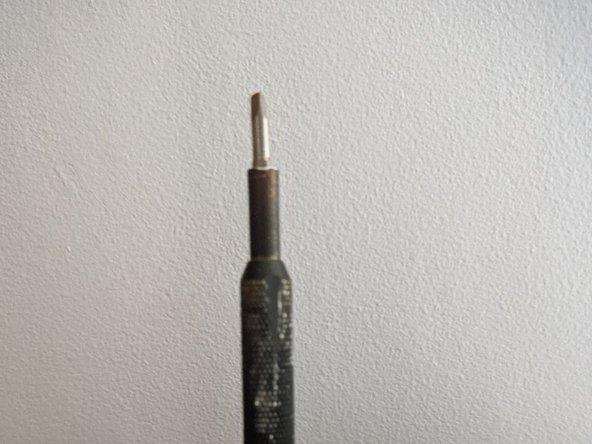
  • Attach the new magnet (in this case 2x 2mm*4mm disc magnets, original was a 4*4mm) to one of your useless bits. I used the triangle one

  • You may want to add a dab of glue to the back of your magnets. I didn't feel the need, a press fit was all that was needed

  • Insert the bit. It may not go all the way to the required depth

  • Place the screwdriver, cap side down, on your makeshift anvil/surface

  • Give it a good few hits with the hammer, to push it back in.

  • Hits sound different when you're all the way in. When that's the case, you can't go further

Bevestig de nieuwe magneet (in dit geval 2 schijfmagneten van 2 mm bij 4 mm, de originele was 4 mm bij 4 mm) aan een van je weinig gebruikte bits. Ik heb de driehoekige gebruikt.

Je kunt eventueel een beetje lijm op de achterkant van je magneten aanbrengen. Ik had daar geen behoefte aan, een perspassing was voldoende.

Plaats de bit. Het kan zijn dat deze niet helemaal tot de gewenste diepte gaat.

Plaats de schroevendraaier, met de dop naar beneden, op een geïmproviseerd aambeeld/oppervlak

Geef het een paar flinke tikken met de hamer om het terug te duwen.

De hamerslagen klinken anders als je er helemaal in zit. Als dat het geval is, kun je niet verder.

crwdns2944171:0crwdnd2944171:0crwdnd2944171:0crwdnd2944171:0crwdne2944171:0