crwdns2935425:03crwdne2935425:0
crwdns2931653:03crwdne2931653:0


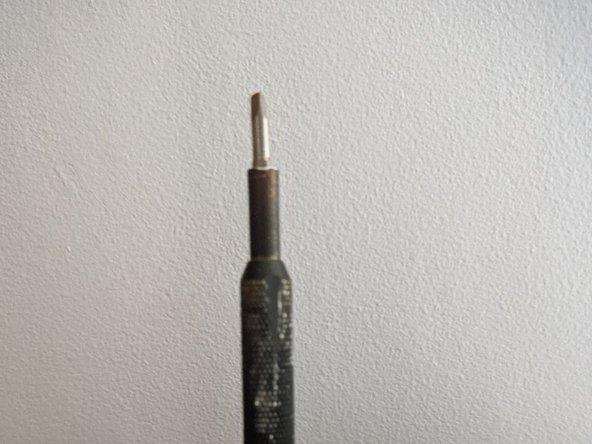


Inserting the new magnets
-
Attach the new magnet (in this case 2x 2mm*4mm disc magnets, original was a 4*4mm) to one of your useless bits. I used the triangle one
-
You may want to add a dab of glue to the back of your magnets. I didn't feel the need, a press fit was all that was needed
-
Insert the bit. It may not go all the way to the required depth
-
Place the screwdriver, cap side down, on your makeshift anvil/surface
-
Give it a good few hits with the hammer, to push it back in.
-
Hits sound different when you're all the way in. When that's the case, you can't go further
crwdns2944171:0crwdnd2944171:0crwdnd2944171:0crwdnd2944171:0crwdne2944171:0