crwdns2931527:0crwdnd2931527:0crwdnd2931527:0crwdnd2931527:0crwdne2931527:0
crwdns2935425:02crwdne2935425:0


-
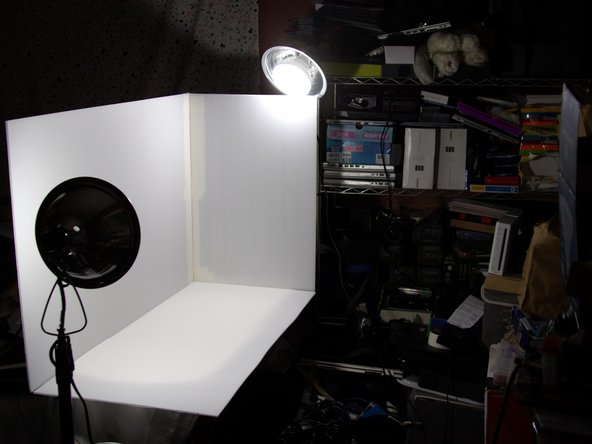
Side lighting
-
Tripod or light stands: If you can find a pair of quality tripods, these can often be used as makeshift light stands. High-end tripods are not required, but nice to have.
-
Standing lamp: Space may be an issue with lamps that have a base, but if you can make this work a broken lamp (with the cord and socket removed) can be used.
-
Edge cases
-
Over the top: This method requires specific setup conditions not always feasible without a dedicated workspace. However, this method can allow the use of one bright LED instead of 2 when it works (must use 1,500-2,000+ lumens).
-
Side clamping: This works in a pinch, but should be considered a last resort. Light placement may be restricted which can show in the final photo. Look into better options first.
crwdns2944171:0crwdnd2944171:0crwdnd2944171:0crwdnd2944171:0crwdne2944171:0