crwdns2935425:03crwdne2935425:0
crwdns2931653:03crwdne2931653:0
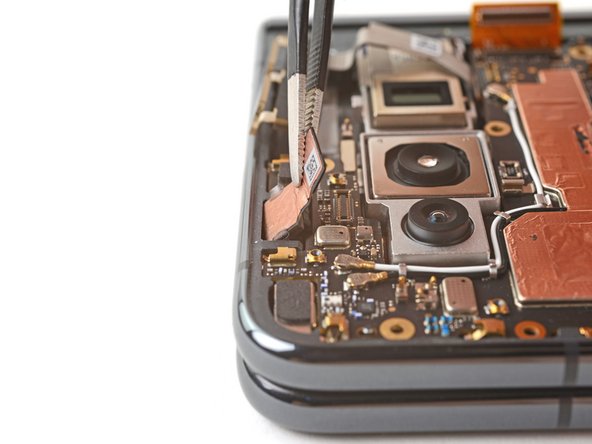
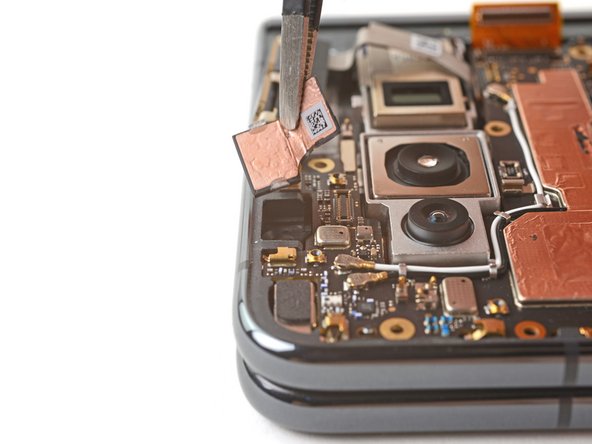
-
Grab the front camera by the neck of its connector, as close to the camera body as possible.
-
Don't press down on the press connector's pins, as you may bend them.
-
Pull straight up to separate the adhesive and remove the front camera.
-
During reassembly, if your adhesive is still sticky and intact, you can reuse it. Otherwise, follow this guide to replace it with custom cut strips.
-
If you don't have custom cut adhesive strips, use double-sided tape, like Tesa Tape, to secure the front camera to the frame.
crwdns2944171:0crwdnd2944171:0crwdnd2944171:0crwdnd2944171:0crwdne2944171:0
crwdns2935431:0crwdne2935431:0
Ctrl + N
crwdns2931507:0crwdne2931507:0
Ctrl + P
crwdns2931509:0crwdne2931509:0
Ctrl + Shift + N
crwdns2931511:0crwdne2931511:0
Ctrl + Shift + P
crwdns2931513:0crwdne2931513:0
Ctrl + ]
crwdns2931515:0crwdne2931515:0
Ctrl + [
crwdns2931517:0crwdne2931517:0
Ctrl + D
crwdns2931519:0crwdne2931519:0
Shift + ;
crwdns2931521:0crwdne2931521:0
Shift + H
crwdns2931523:0crwdne2931523:0
Shift + /
crwdns2931525:0crwdne2931525:0
crwdns2936657:0crwdne2936657:0