crwdns2933423:0crwdne2933423:0

Whirlpool 건조기 발열체 테스트 및 교체

crwdns2936315:0crwdne2936315:0
crwdns2936325:0crwdne2936325:0
crwdns2931653:015crwdne2931653:0
Whirlpool Dryer Heating Element Testing and Replacement, Remove the heater housing cover: crwdns2935265:00crwdnd2935265:01crwdnd2935265:03crwdne2935265:0 Whirlpool Dryer Heating Element Testing and Replacement, Remove the heater housing cover: crwdns2935265:00crwdnd2935265:02crwdnd2935265:03crwdne2935265:0 Whirlpool Dryer Heating Element Testing and Replacement, Remove the heater housing cover: crwdns2935265:00crwdnd2935265:03crwdnd2935265:03crwdne2935265:0
Remove the heater housing cover
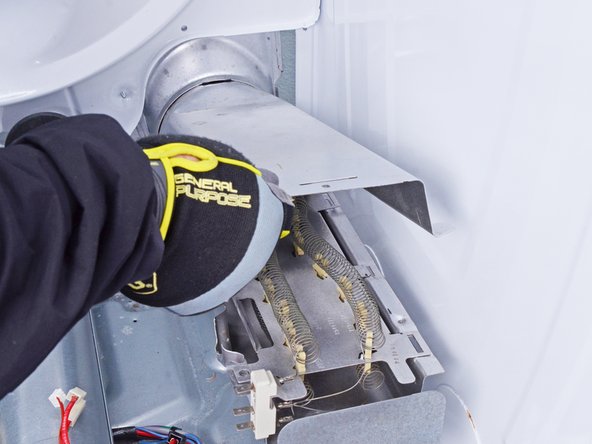
  • Put on gloves before continuing, as the heater housing cover is sharp.

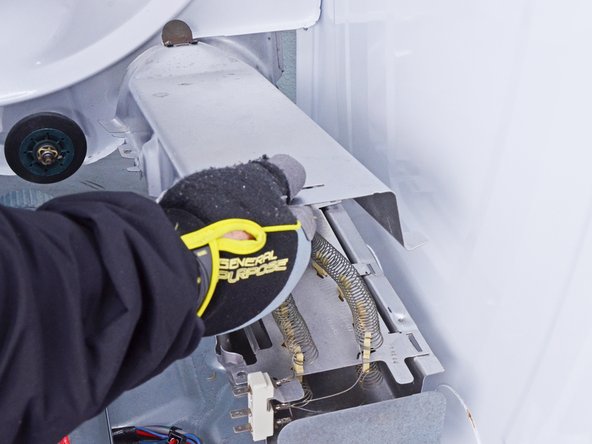
  • Lift the front of the heater housing cover to release the tabs securing it to the inlet housing pipe.

  • Make sure to lift the end of the cover well up so that you can get this tab to come free. Also the tabs on the side of the housing can stick in the slots.

  • Remove the heater housing cover.

  • During reassembly, make sure all the tabs on the cover have gone all the way through the slots on the sides of the housing and on the heating element. It will snap into place when it is correct.

히터 하우징 커버는 날카로우므로 계속하기 전에 장갑을 착용하세요.

히터 하우징 커버의 앞쪽을 들어 올려 인렛 하우징 파이프에 고정된 탭을 분리하세요.

이 탭을 해제할 수 있도록 커버의 끝을 잘 들어 올려야 합니다. 또한 하우징 측면의 탭이 슬롯에 끼어 있을 수 있습니다.

히터 하우징 커버를 분리하세요.

재조립할 때, 커버의 모든 탭이 하우징 측면의 슬롯과 발열체에 완전히 들어갔는지 확인하세요. 올바르게 들어가면 제자리에 고정됩니다.

crwdns2944171:0crwdnd2944171:0crwdnd2944171:0crwdnd2944171:0crwdne2944171:0