crwdns2935425:02crwdne2935425:0
crwdns2931653:02crwdne2931653:0


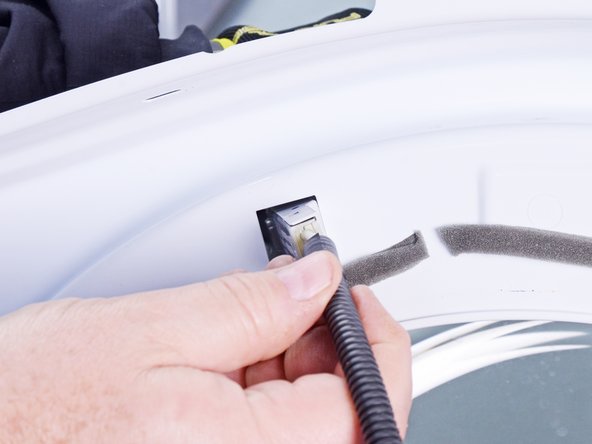


Remove the door switch
-
Working from the rear of the front panel, pinch the tabs on the end of the switch toward the switch body to release it.
-
Push the switch through the mounting hole toward the front of the panel.
crwdns2944171:0crwdnd2944171:0crwdnd2944171:0crwdnd2944171:0crwdne2944171:0