crwdns2935425:04crwdne2935425:0
crwdns2931653:04crwdne2931653:0

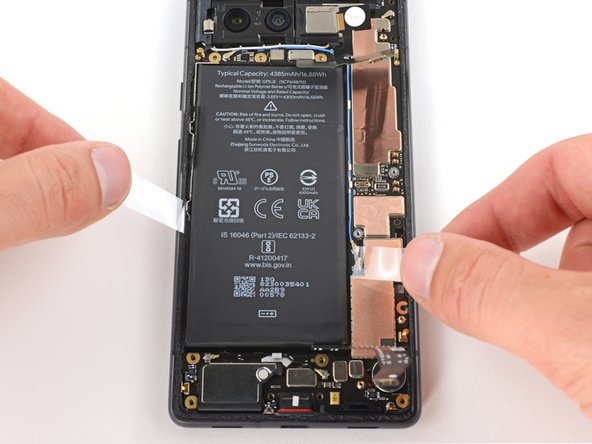
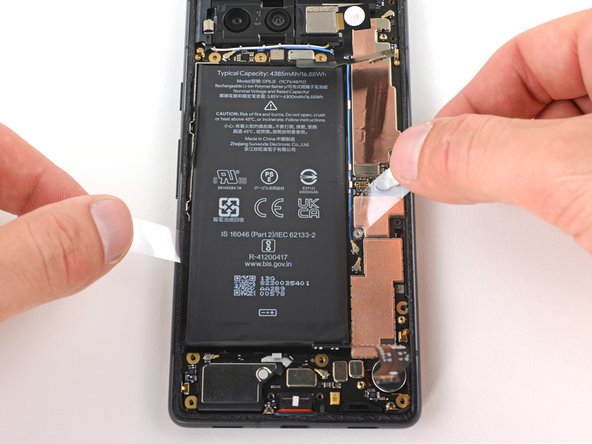


Slide the battery jacket
-
Firmly grip both sides of the battery jacket. Hold them at a low angle, but up high enough so they don't snag on any logic board components or the frame.
-
Slide each end of the jacket toward the top of the battery in a sawing motion to cut through the bottom portion of adhesive.
-
Stop sawing when the jacket reaches halfway up the battery.
crwdns2944171:0crwdnd2944171:0crwdnd2944171:0crwdnd2944171:0crwdne2944171:0