crwdns2933423:0crwdne2933423:0

Google Pixel 7a スクリーンの交換

crwdns2936315:0crwdne2936315:0
crwdns2936323:0crwdne2936323:0
crwdns2931653:024crwdne2931653:0
Google Pixel 7a Screen Replacement: crwdns2935265:00crwdnd2935265:01crwdnd2935265:03crwdne2935265:0 Google Pixel 7a Screen Replacement: crwdns2935265:00crwdnd2935265:02crwdnd2935265:03crwdne2935265:0 Google Pixel 7a Screen Replacement: crwdns2935265:00crwdnd2935265:03crwdnd2935265:03crwdne2935265:0
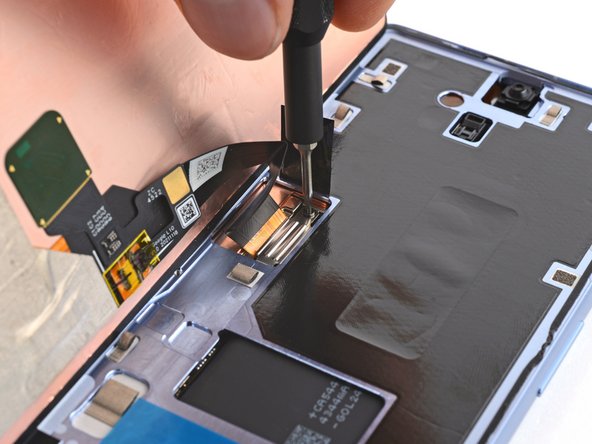
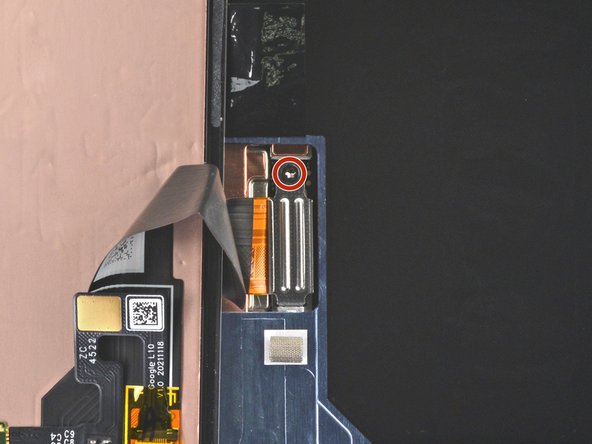
  • Insert the screen connector cover into its slot in the logic board.

  • Use your T3 Torx driver to install the 2 mm 3IP Torx Plus screw and secure the screen connector cover.

スクリーンのコネクタカバーをロジックボードのスロットに差し込みます。

T3 トルクスドライバを使用して、2 mm 3IP トルクスプラスネジを取り付け、スクリーンコネクタカバーを固定します。

crwdns2944171:0crwdnd2944171:0crwdnd2944171:0crwdnd2944171:0crwdne2944171:0