crwdns2935425:017crwdne2935425:0
crwdns2931653:017crwdne2931653:0


-
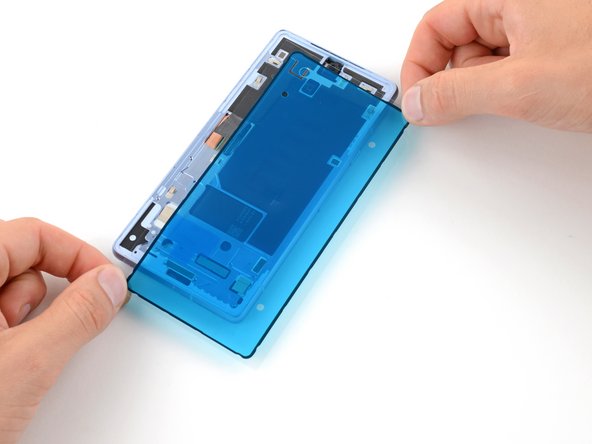
Before removing any liners from the screen adhesive, hold it over the frame to make sure it's oriented correctly.
| - | [* icon_note] If your screen already comes with adhesive pre-installed, [guide|161581|skip down five steps|stepid=342110] to continue reassembly. |
|---|---|
| + | [* icon_note] If your screen already comes with adhesive pre-installed, remove its liner and [guide|161581|skip down five steps|stepid=342110] to continue reassembly. |
| [* black] Before removing any liners from the screen adhesive, hold it over the frame to make sure it's oriented correctly. | |
| [* icon_note] Make sure the blue adhesive liner is facing up and the tab cutout is to the left of the front-facing camera. |
crwdns2944171:0crwdnd2944171:0crwdnd2944171:0crwdnd2944171:0crwdne2944171:0