crwdns2935425:010crwdne2935425:0
crwdns2931653:010crwdne2931653:0


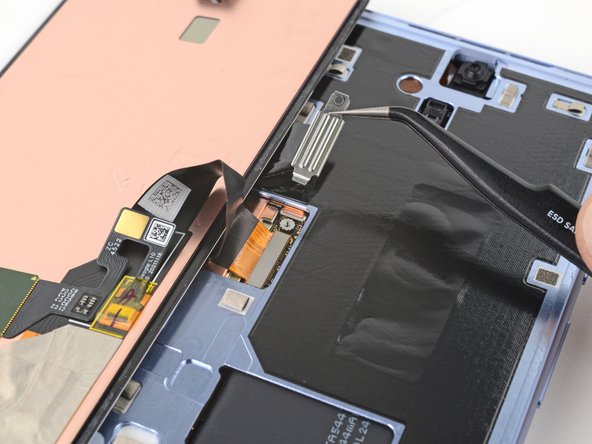


Remove the screen connector cover
-
Use your 3IP Torx Plus driver to remove the single 2 mm screw securing the screen connector cover.
-
Remove the cover.
| [title] Remove the screen connector cover | |
| - | [* |
| - | [* |
| + | [* red] Use your 3IP Torx Plus driver to remove the single 2 mm screw securing the screen connector cover. |
| + | [* icon_note] While the Pixel 7a uses [link|https://en.wikipedia.org/wiki/Torx#Torx_Plus|Torx Plus|new_window=true] screws, standard Torx drivers still work. You may use a T3 Torx driver to remove this screw. ***Make sure to apply constant, downward force to prevent stripping.*** |
| [* black] Remove the cover. |
crwdns2944171:0crwdnd2944171:0crwdnd2944171:0crwdnd2944171:0crwdne2944171:0