crwdns2931529:0crwdnd2931529:0crwdnd2931529:0crwdnd2931529:08crwdnd2931529:0crwdne2931529:0
crwdns2935425:07crwdne2935425:0
crwdns2931653:07crwdne2931653:0

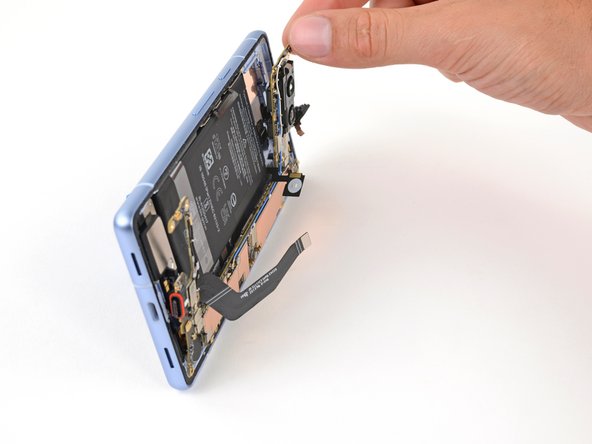
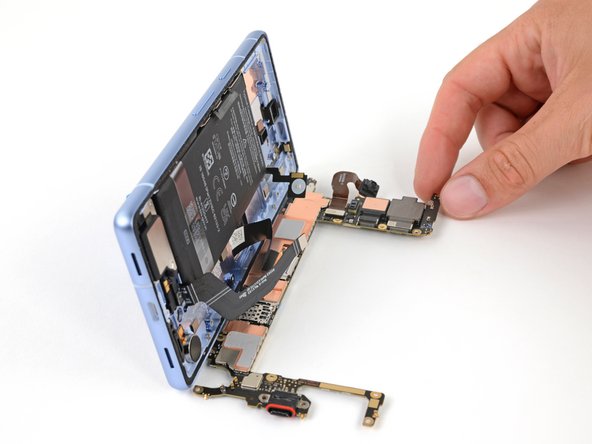


Lay down the logic board
-
Apply your suction handle to the left side of the screen with the handle facing down.
-
Prop up the phone so it stands upright.
-
Tilt the logic board down and lay it flat. Move any cables out of the way, if necessary.
crwdns2944171:0crwdnd2944171:0crwdnd2944171:0crwdnd2944171:0crwdne2944171:0