crwdns2933423:0crwdne2933423:0

Come aprire il tuo Logitech MX Master 3S

crwdns2931529:0crwdnd2931529:0crwdnd2931529:0crwdnd2931529:03crwdnd2931529:0crwdne2931529:0

crwdns2936315:0crwdne2936315:0
crwdns2936321:0crwdne2936321:0
crwdns2931653:04crwdne2931653:0
How to Open Your Logitech MX Master 3S, Release the final clip: crwdns2935265:00crwdnd2935265:01crwdnd2935265:03crwdne2935265:0 How to Open Your Logitech MX Master 3S, Release the final clip: crwdns2935265:00crwdnd2935265:02crwdnd2935265:03crwdne2935265:0 How to Open Your Logitech MX Master 3S, Release the final clip: crwdns2935265:00crwdnd2935265:03crwdnd2935265:03crwdne2935265:0
Release the final clip
  • Lay your mouse down onto your work surface, making sure none of the clips re-engage.

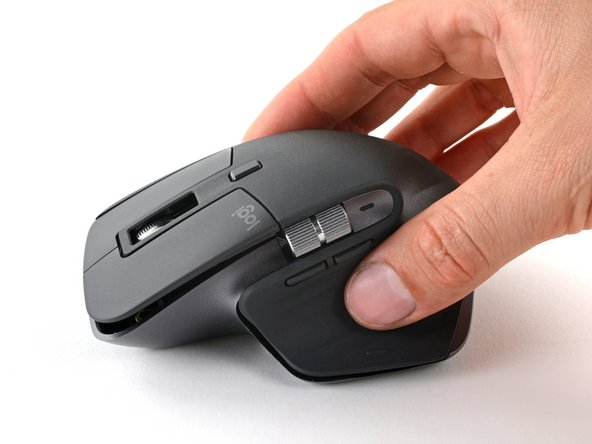
  • Grasp the upper shell and partially lift up the right edge.

  • Pull the upper shell up and back to release the final clip and separate the upper shell from the lower case.

  • Still keep the two halves close together—a cable is still tethered to the upper shell.

  • To reinstall the upper shell, slide the front edge into place first, then press down around the perimeter of the upper shell to engage the remaining clips.

Posiziona il mouse sul piano di lavoro, assicurandoti che nessuna delle clip si riallacci.

Afferra la scocca superiore e solleva parzialmente il bordo destro.

Tira su e indietro la scocca superiore per sganciare l'ultima clip e separare la scocca superiore dalla cover inferiore.

Mantieni ancora le due metà vicine, un cavo è ancora collegato alla scocca superiore.

Per reinstallare la scocca superiore, inserisci prima il bordo anteriore in posizione, poi premi lungo il perimetro della scocca superiore per far scattare le clip rimanenti.

crwdns2944171:0crwdnd2944171:0crwdnd2944171:0crwdnd2944171:0crwdne2944171:0