crwdns2933423:0crwdne2933423:0

Cómo Abrir Tu Logitech MX Master 3S

crwdns2931529:0crwdnd2931529:0crwdnd2931529:0crwdnd2931529:03crwdnd2931529:0crwdne2931529:0

crwdns2936315:0crwdne2936315:0
crwdns2936331:0crwdne2936331:0
crwdns2931653:04crwdne2931653:0
How to Open Your Logitech MX Master 3S, Release the final clip: crwdns2935265:00crwdnd2935265:01crwdnd2935265:03crwdne2935265:0 How to Open Your Logitech MX Master 3S, Release the final clip: crwdns2935265:00crwdnd2935265:02crwdnd2935265:03crwdne2935265:0 How to Open Your Logitech MX Master 3S, Release the final clip: crwdns2935265:00crwdnd2935265:03crwdnd2935265:03crwdne2935265:0
Release the final clip
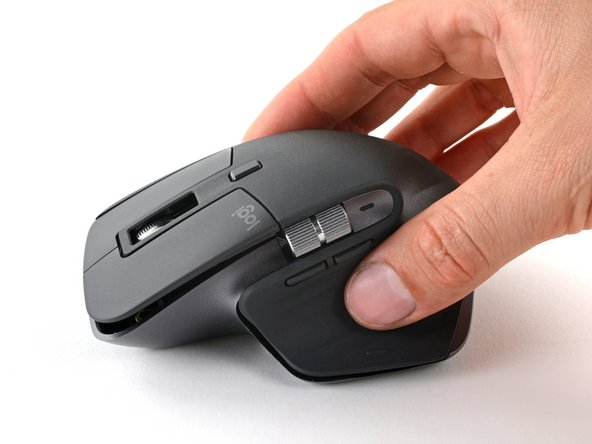
  • Lay your mouse down onto your work surface, making sure none of the clips re-engage.

  • Grasp the upper shell and partially lift up the right edge.

  • Pull the upper shell up and back to release the final clip and separate the upper shell from the lower case.

  • Still keep the two halves close together—a cable is still tethered to the upper shell.

  • To reinstall the upper shell, slide the front edge into place first, then press down around the perimeter of the upper shell to engage the remaining clips.

Coloca el ratón sobre la superficie de trabajo, asegurándote de que ninguno de los clips vuelva a engancharse.

Sujeta la carcasa superior y levante parcialmente el borde derecho.

Tira de la carcasa superior hacia arriba y hacia atrás para soltar el clip final y separar la carcasa superior de la inferior.

Sigue manteniendo las dos mitades juntas: un cable sigue sujeto a la carcasa superior.

Para volver a instalar la carcasa superior, desliza primero el borde delantero en su sitio y, a continuación, presiona hacia abajo alrededor del perímetro de la carcasa superior para enganchar los clips restantes.

crwdns2944171:0crwdnd2944171:0crwdnd2944171:0crwdnd2944171:0crwdne2944171:0