crwdns2933423:0crwdne2933423:0

Logitech MX Master 3S öffnen

crwdns2931529:0crwdnd2931529:0crwdnd2931529:0crwdnd2931529:03crwdnd2931529:0crwdne2931529:0

crwdns2936315:0crwdne2936315:0
crwdns2936319:0crwdne2936319:0
crwdns2931653:04crwdne2931653:0
How to Open Your Logitech MX Master 3S, Release the final clip: crwdns2935265:00crwdnd2935265:01crwdnd2935265:03crwdne2935265:0 How to Open Your Logitech MX Master 3S, Release the final clip: crwdns2935265:00crwdnd2935265:02crwdnd2935265:03crwdne2935265:0 How to Open Your Logitech MX Master 3S, Release the final clip: crwdns2935265:00crwdnd2935265:03crwdnd2935265:03crwdne2935265:0
Release the final clip
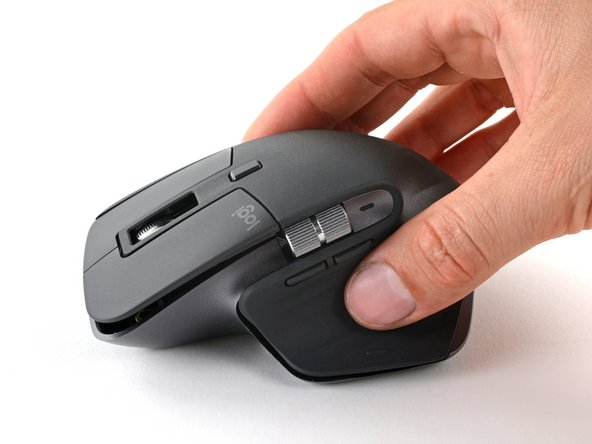
  • Lay your mouse down onto your work surface, making sure none of the clips re-engage.

  • Grasp the upper shell and partially lift up the right edge.

  • Pull the upper shell up and back to release the final clip and separate the upper shell from the lower case.

  • Still keep the two halves close together—a cable is still tethered to the upper shell.

  • To reinstall the upper shell, slide the front edge into place first, then press down around the perimeter of the upper shell to engage the remaining clips.

Lege die Maus zurück auf die Arbeitsfläche, passe auf, dass keine der Rasten wieder einschnappt.

Fasse das Gehäuseoberteil an und hebe die rechte Kante teilweise hoch.

Ziehe das Gehäuseoberteil nach oben und zurück, um die letzte Raste zu lösen und das Gehäuseobeeteil vom Unterteil zu trennen.

Halte die beiden Hälften zusammen, sie sind noch durch ein Kabel miteinander verbunden.

Um das Gehäuseoberteil wieder einzubauen, musst du erst die Vorderkante einsetzen und es dann ringsherum festdrücken, bis die restlichen Rasten einschnappen.

crwdns2944171:0crwdnd2944171:0crwdnd2944171:0crwdnd2944171:0crwdne2944171:0