crwdns2933423:0crwdne2933423:0

Reemplazo de patas de goma HP 15-dy

crwdns2931529:0crwdnd2931529:0crwdnd2931529:0crwdnd2931529:011crwdnd2931529:0crwdne2931529:0

crwdns2935425:05crwdne2935425:0

crwdns2936315:0crwdne2936315:0
crwdns2936331:0crwdne2936331:0
crwdns2931653:05crwdne2931653:0
HP 15-dy Rubber Feet Replacement, Reassembly information: crwdns2935265:00crwdnd2935265:01crwdnd2935265:03crwdne2935265:0 HP 15-dy Rubber Feet Replacement, Reassembly information: crwdns2935265:00crwdnd2935265:02crwdnd2935265:03crwdne2935265:0 HP 15-dy Rubber Feet Replacement, Reassembly information: crwdns2935265:00crwdnd2935265:03crwdnd2935265:03crwdne2935265:0
Reassembly information
  • Note that the rubber feet are different:

  • The rear foot is thicker, with a deeper recess.

  • The front foot is thinner, with a shallower recess.

  • During reassembly:

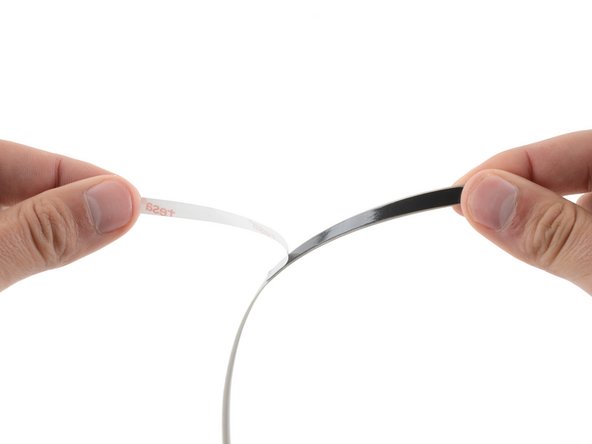
  • If you're reusing the rubber feet, the leftover adhesive should be tacky enough to reuse.

  • If the leftover adhesive isn't sticky enough or your replacement feet didn't come with adhesive, you can use double-sided tape such as Tesa Tape to secure the feet.

  • Make sure the strips of tape aren't wider than 6 mm, otherwise they may not fit.

  • To install a foot, remove its adhesive liner, lay the foot into its matching recess, and press down firmly along the entire length of the foot to secure it.

Tenga en cuenta que las patas de goma son diferentes:

La pata trasera es más gruesa, con un hueco más profundo.

La pata delantera es más delgada, con un hueco menos profundo.

Durante el reensamblaje:

Si está reutilizando las patas de goma, el adhesivo restante debe ser lo suficientemente pegajoso como para poder reutilizarlo.

Si el adhesivo sobrante no es lo suficientemente pegajoso o sus pies de repuesto no vinieron con adhesivo, puede usar cinta de doble cara, como cinta Tesa, para asegurar los pies.

Asegúrese de que las tiras de cinta no tengan más de 6 mm de ancho, de lo contrario es posible que no encajen.

Para instalar un pie, retire el revestimiento adhesivo, coloque el pie en el hueco correspondiente y presione firmemente a lo largo de toda la longitud del pie para asegurarlo.

crwdns2944171:0crwdnd2944171:0crwdnd2944171:0crwdnd2944171:0crwdne2944171:0