crwdns2931529:0crwdnd2931529:0crwdnd2931529:0crwdnd2931529:07crwdnd2931529:0crwdne2931529:0
crwdns2935425:01crwdne2935425:0
crwdns2931653:01crwdne2931653:0

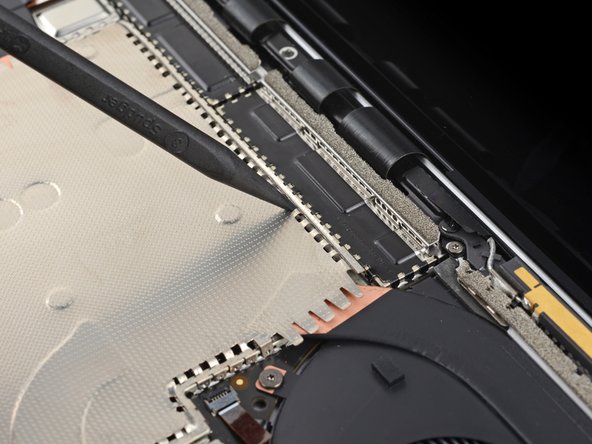


Unclip the heatsink shield
-
Insert the pointed end of a spudger in one of the gaps on the top edge of the heatsink shield.
-
Gently pry up to release the clips securing the shield.
-
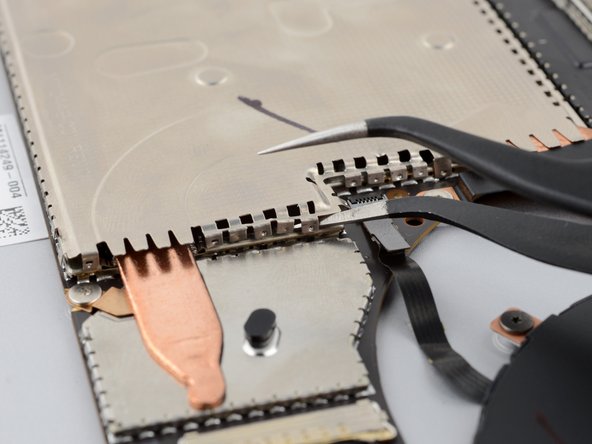
Repeat this process along the right edge.
-
Insert one arm of your tweezers under the bottom right edge of the heatsink shield.
-
Gently pry up to release the remaining clips.
crwdns2944171:0crwdnd2944171:0crwdnd2944171:0crwdnd2944171:0crwdne2944171:0