crwdns2935425:04crwdne2935425:0


-
Using a heat gun, heat around the edges and seperate the glass from the front cover. Work from bottom up.
-
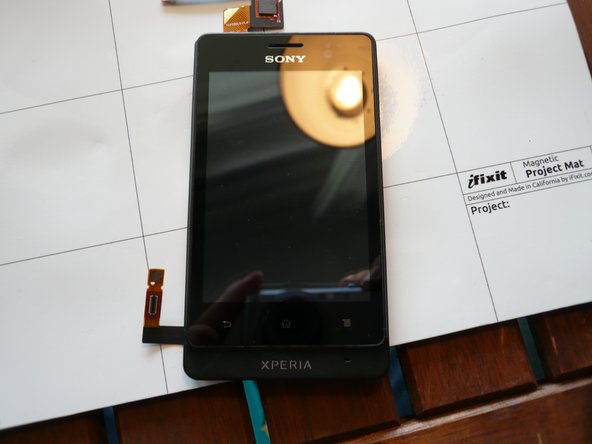
Note the digitizer cable runs through a small hole behind the lcd, in the top of the phone.
-
When the glass is seperated, carefully lift the lcd a bit, to get the digitizer cable through the hole.
-
To protect the lcd from residue and fingerprints, cover it with masking tape, until you are ready to seal the glass to the cover.
-
When you have prepared new adhesive tape and the digitizer cable has been pulled through the hole to the backside of the phone.
-
Remove the masking tape from the lcd, and using some canned air, blow away dust and close the glass cover.
-
Finally reverse the disassembly and enjoy.
crwdns2944171:0crwdnd2944171:0crwdnd2944171:0crwdnd2944171:0crwdne2944171:0