crwdns2935425:07crwdne2935425:0
crwdns2931653:07crwdne2931653:0

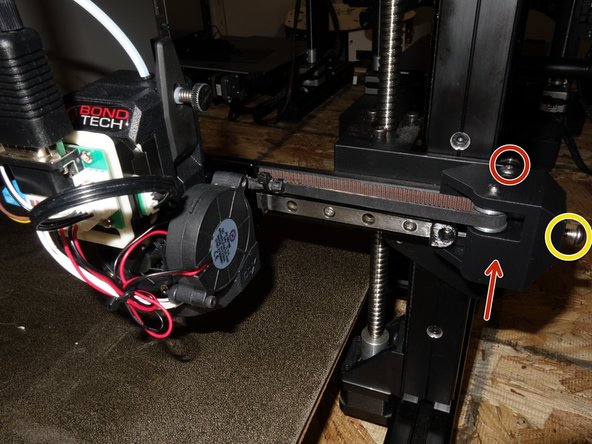


Assembly 1c. Install the X Belt cont.
-
Loosen the screws on the top and bottom of the X Idler assembly to allow for belt tension adjustment
-
The printed Idler mount and tension can be adjusted by the M5 screw on the end of the Idler Mount.
-
Once tension is set, tighten the top and bottom screw to hold the tension
-
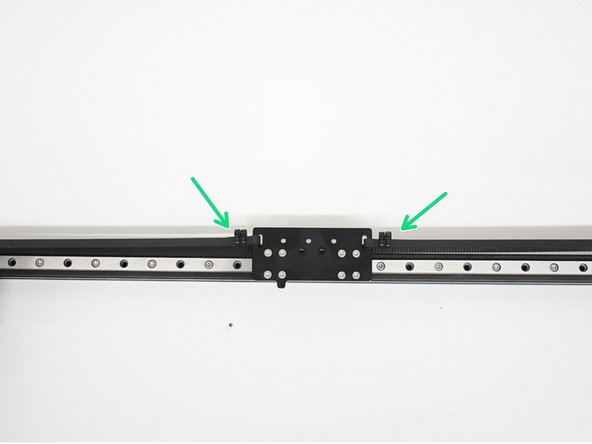
Add a second cable tie to both sides next to the others.
crwdns2944171:0crwdnd2944171:0crwdnd2944171:0crwdnd2944171:0crwdne2944171:0