crwdns2935425:06crwdne2935425:0
crwdns2931653:06crwdne2931653:0

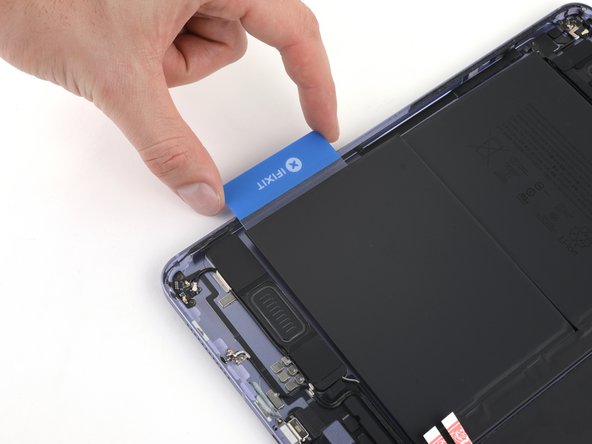


Separate the lower battery cell
-
Insert your plastic card under the short edge of the lower battery cell to slice the adhesive.
-
Insert the plastic card again under the long edge of the lower battery cell to slice the remaining adhesive.
-
Twist your plastic card to lift the short edge of the battery cell from the frame.
crwdns2944171:0crwdnd2944171:0crwdnd2944171:0crwdnd2944171:0crwdne2944171:0