crwdns2935425:012crwdne2935425:0
crwdns2931653:012crwdne2931653:0

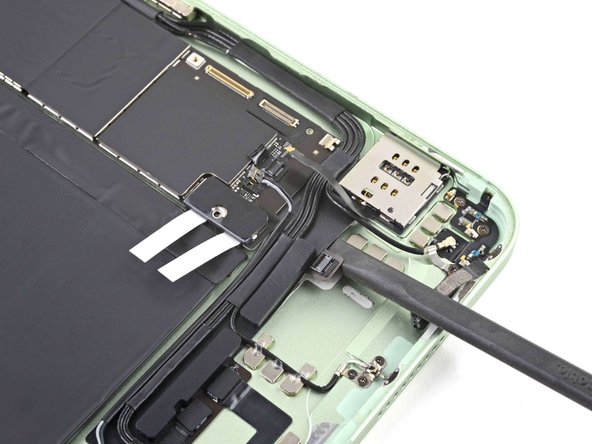
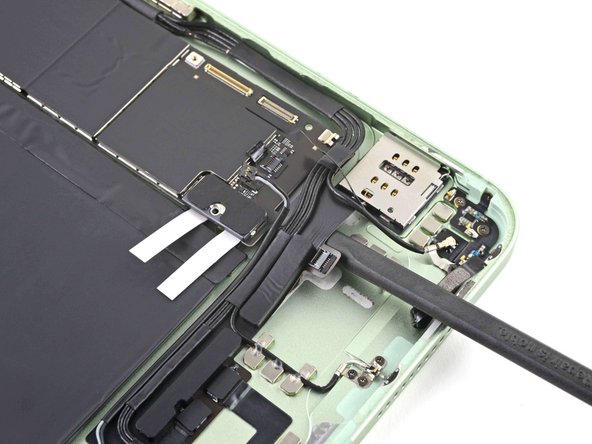


Lift the logic board
-
Lay the iPad screen side up.
-
Slide the flat end of a spudger under the cellular wireless connector until the logic board lifts and the battery blocker card strips are loose.
-
Leave the spudger in to prevent the adhesive from re-sealing.
crwdns2944171:0crwdnd2944171:0crwdnd2944171:0crwdnd2944171:0crwdne2944171:0