crwdns2935425:04crwdne2935425:0
crwdns2931653:04crwdne2931653:0


Reassembly
-
In order to reassemble this, simply reverse the steps with some details to take in mind, these being:
-
Rubber contacts must be flat into the surface and the hollow side looking up, In green is correct placement, In red, incorrect
-
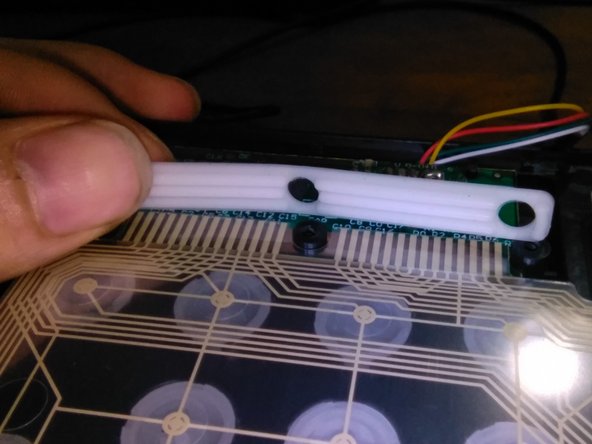
The piece of rubber that hold the membrane in the board has a position as well, where its corrugated side must face down onto the membrane
-
everything and membrane on place (refer to step 2 photo), the cable has almost nothing holding it on place, so make sure it's positioned correctly when putting the back cover back on place
crwdns2944171:0crwdnd2944171:0crwdnd2944171:0crwdnd2944171:0crwdne2944171:0