crwdns2935425:014crwdne2935425:0
crwdns2931653:014crwdne2931653:0


-
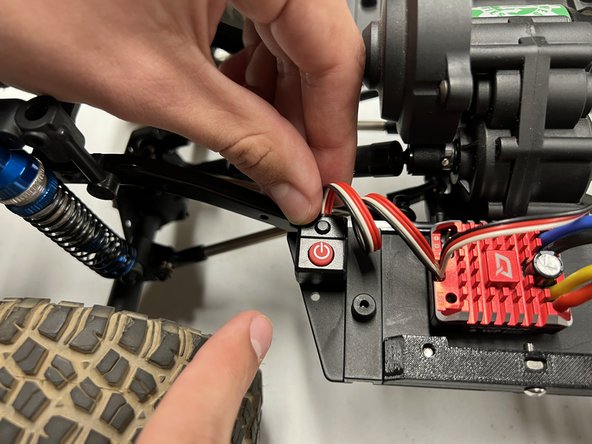
Peel off the red layer from the double-sided adhesive attached to the power button.
-
Secure it to the original spot of the old power button.
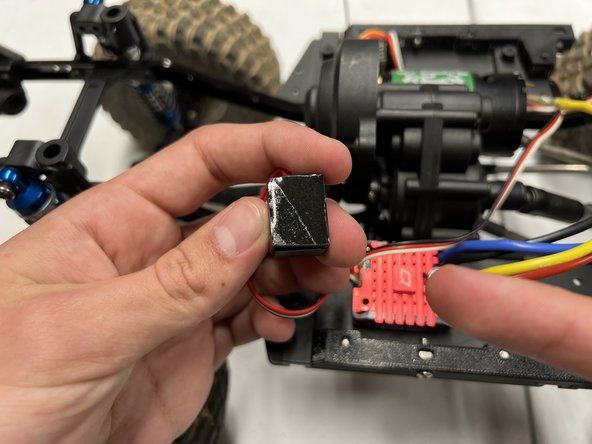
| - | [* black] You will remove the thin layer of double-sided adhesive tape from the bottom of your power button. Slowly place the power button evenly where your existing power button lived. |
|---|---|
| - | [* icon_note] Using a utility knife makes the job of peeling the layer off of the double-sided adhesive tape much easier. |
| + | [* black] Peel off the red layer from the double-sided adhesive attached to the power button. |
| + | [* black] Secure it to the original spot of the old power button. |
| + | [* icon_note] Use a precision knife to easily remove the layer on your double-sided adhesive. |
crwdns2944171:0crwdnd2944171:0crwdnd2944171:0crwdnd2944171:0crwdne2944171:0