crwdns2935425:09crwdne2935425:0
crwdns2931653:09crwdne2931653:0


-
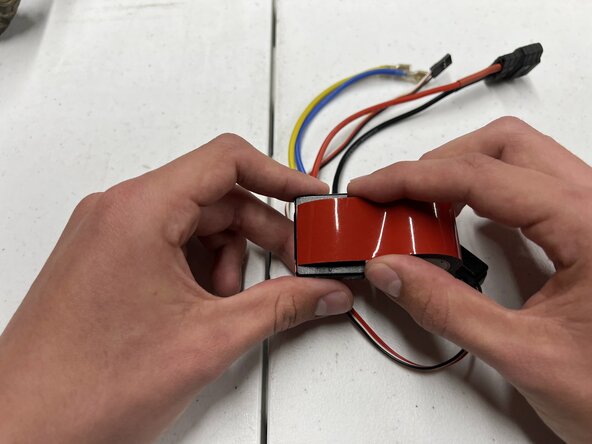
Position the controller unit so that the bottom faces upwards.
-
Unwind 1 inch of double-sided adhesive.
-
Center the adhesive on the bottom and press down to secure it.
| - | [* black] Simply grab some double-sided adhesive and place it in the middle of your base. |
|---|---|
| - | [* icon_note] To make sure that your adhesive is centered, place the corner of the adhesive right below the corner of the base. (Image 3) |
| + | [* black] Position the controller unit so that the bottom faces upwards. |
| + | [* black] Unwind 1 inch of [link|https://www.amazon.com/MMOBIEL-Adhesive-Tablets-Digitizer-Professional/dp/B00PVZM9TY/?tag=ifixitam-20|double-sided adhesive|new_window=true]. |
| + | [* black] Center the adhesive on the bottom and press down to secure it. |
crwdns2944171:0crwdnd2944171:0crwdnd2944171:0crwdnd2944171:0crwdne2944171:0