crwdns2931527:0crwdnd2931527:0crwdnd2931527:0crwdnd2931527:0crwdne2931527:0
crwdns2935425:03crwdne2935425:0
crwdns2931653:03crwdne2931653:0


-
Remove the three 10 mm screws using a Phillips #1 screwdriver.
-
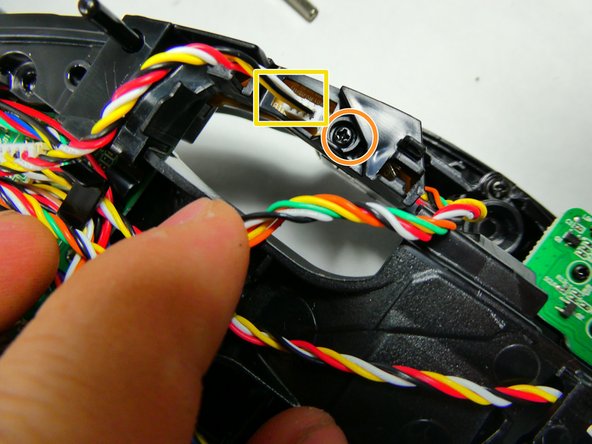
Off to the right and left sides of the robot you will find one clip leading to a smaller independent board. Remove the singular 9 mm screw using a T15 Torx screwdriver to free the edges of the plastic element holding the motherboard down. Repeat this for the other side.
-
Detach the white connector from the plastic housing. Repeat this for the other side.
crwdns2944171:0crwdnd2944171:0crwdnd2944171:0crwdnd2944171:0crwdne2944171:0