crwdns2933423:0crwdne2933423:0

Nintendo 2DS の音量ボタンの交換

crwdns2936315:0crwdne2936315:0
crwdns2936323:0crwdne2936323:0
crwdns2931653:05crwdne2931653:0
Nintendo 2DS Volume Slider Replacement: crwdns2935265:00crwdnd2935265:01crwdnd2935265:03crwdne2935265:0 Nintendo 2DS Volume Slider Replacement: crwdns2935265:00crwdnd2935265:02crwdnd2935265:03crwdne2935265:0 Nintendo 2DS Volume Slider Replacement: crwdns2935265:00crwdnd2935265:03crwdnd2935265:03crwdne2935265:0
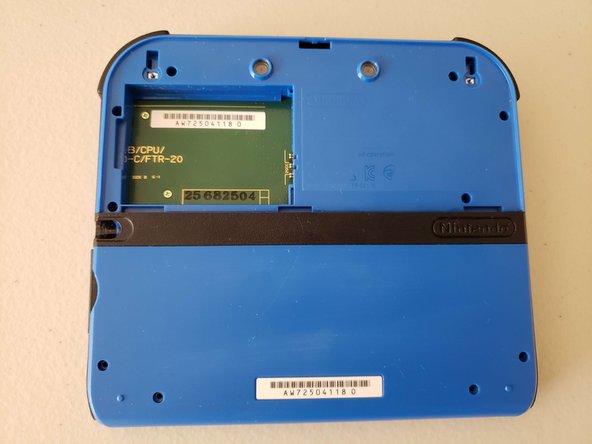
  • Use a spudger to pry the back case off by working around the perimeter of the device, starting from the bottom of the 2DS.

  • Don't yank or pull the back case off because the camera ribbon is attached to the motherboard and back case and may rip or damage the cable or camera itself.

  • Use the tip of a spudger, an opening tool, or your fingernail to flip up the small, hinged locking flap on the camera cable.

  • Use your spudger to gently slide the cable out of the connector.

  • Remove the back case.

スパッジャーを使用して、2DS の下部から始めて、デバイスの周囲をこじ開けて背面ケースを取り外します。

カメラのリボンはマザーボードと背面ケースに接続されているため、ケーブルやカメラ自体が裂けたり損傷したりする可能性があるため、背面ケースを引っ張ったり外したりしないでください。

スパッジャーの先端、オープニングツール、または指の爪を使って、カメラケーブルの小さなヒンジ付きロックフラップを跳ね上げます。

スパッジャーを使用して、ケーブルをコネクタからゆっくりとスライドさせて外します。

背面ケースを取り外します。

crwdns2944171:0crwdnd2944171:0crwdnd2944171:0crwdnd2944171:0crwdne2944171:0