crwdns2933423:0crwdne2933423:0

Come sostituire l'adesivo del tuo Google Pixel 6

crwdns2931527:0crwdnd2931527:0crwdnd2931527:0crwdnd2931527:0crwdne2931527:0

crwdns2936315:0crwdne2936315:0
crwdns2936321:0crwdne2936321:0
crwdns2931653:010crwdne2931653:0
How to Replace the Adhesive for Your Google Pixel 6, Remove the final liner: crwdns2935265:00crwdnd2935265:01crwdnd2935265:03crwdne2935265:0 How to Replace the Adhesive for Your Google Pixel 6, Remove the final liner: crwdns2935265:00crwdnd2935265:02crwdnd2935265:03crwdne2935265:0 How to Replace the Adhesive for Your Google Pixel 6, Remove the final liner: crwdns2935265:00crwdnd2935265:03crwdnd2935265:03crwdne2935265:0
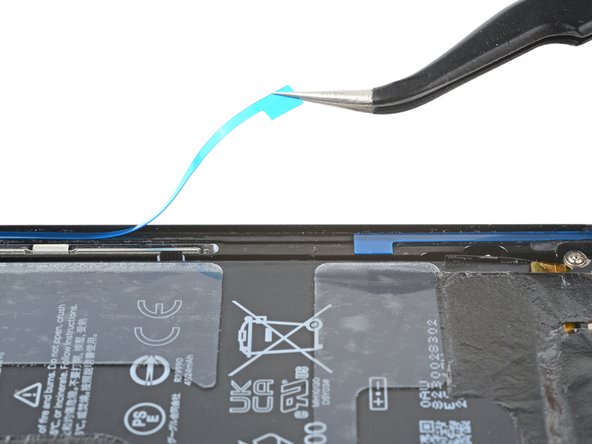
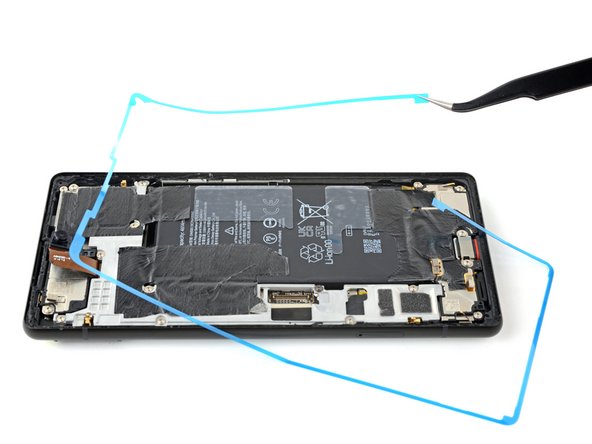
Remove the final liner
  • Take care not to puncture the battery with your tweezers—a punctured battery may leak dangerous chemicals or cause a fire.

  • Grab the pull tab on the lower right of the frame and peel off the liner covering the perimeter adhesive.

  • Make sure the adhesive doesn't peel up with the liner.

Fai attenzione a non forare la batteria con le pinzette, poiché una batteria forata potrebbe far fuoriuscire sostanze chimiche pericolose o causare un incendio.

Afferra la linguetta in basso a destra della cornice e rimuovi la pellicola che copre l'adesivo intorno al perimetro.

Accertati di non sollevare anche l'adesivo insieme alla pellicola.

crwdns2944171:0crwdnd2944171:0crwdnd2944171:0crwdnd2944171:0crwdne2944171:0