crwdns2933423:0crwdne2933423:0

Comment remplacer l'adhésif de votre Google Pixel 6

crwdns2931527:0crwdnd2931527:0crwdnd2931527:0crwdnd2931527:0crwdne2931527:0

crwdns2936315:0crwdne2936315:0
crwdns2936317:0crwdne2936317:0
crwdns2931653:010crwdne2931653:0
How to Replace the Adhesive for Your Google Pixel 6, Remove the final liner: crwdns2935265:00crwdnd2935265:01crwdnd2935265:03crwdne2935265:0 How to Replace the Adhesive for Your Google Pixel 6, Remove the final liner: crwdns2935265:00crwdnd2935265:02crwdnd2935265:03crwdne2935265:0 How to Replace the Adhesive for Your Google Pixel 6, Remove the final liner: crwdns2935265:00crwdnd2935265:03crwdnd2935265:03crwdne2935265:0
Remove the final liner
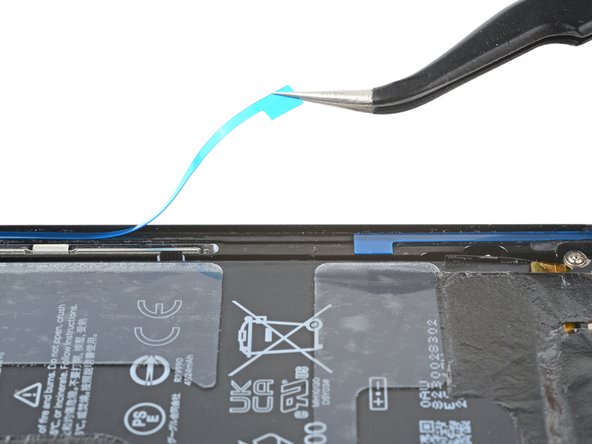
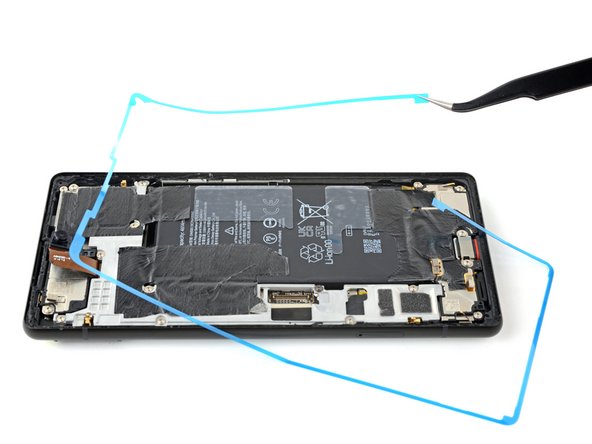
  • Take care not to puncture the battery with your tweezers—a punctured battery may leak dangerous chemicals or cause a fire.

  • Grab the pull tab on the lower right of the frame and peel off the liner covering the perimeter adhesive.

  • Make sure the adhesive doesn't peel up with the liner.

Veillez à ne pas percer la batterie avec votre pincette : une batterie percée peut laisser échapper des produits chimiques dangereux ou provoquer un incendie.

Saisissez la languette située en bas à droite du châssis et décollez le film protecteur qui recouvre le périmètre.

Veillez à ce que l'adhésif ne se décolle pas du film.

crwdns2944171:0crwdnd2944171:0crwdnd2944171:0crwdnd2944171:0crwdne2944171:0