crwdns2931527:0crwdnd2931527:0crwdnd2931527:0crwdnd2931527:0crwdne2931527:0
crwdns2935425:010crwdne2935425:0
crwdns2931653:010crwdne2931653:0

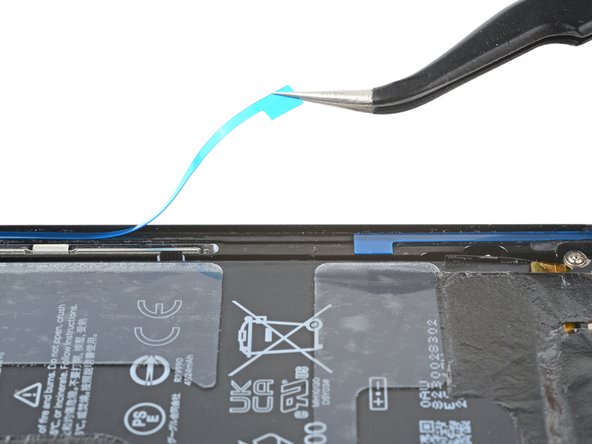
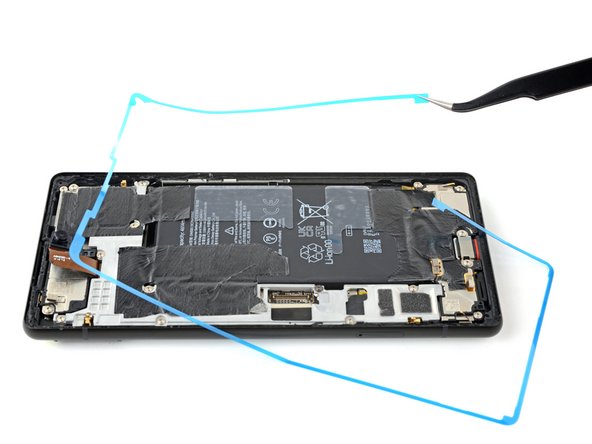


Remove the final liner
-
Grab the pull tab on the lower right of the frame and peel off the liner covering the perimeter adhesive.
crwdns2944171:0crwdnd2944171:0crwdnd2944171:0crwdnd2944171:0crwdne2944171:0