crwdns2933423:0crwdne2933423:0

JuiceBox EVSE-relaisvervanging (UL/versie met LED's aan de voorkant)

crwdns2936315:0crwdne2936315:0
crwdns2936313:0crwdne2936313:0
crwdns2931653:08crwdne2931653:0
JuiceBox EVSE Relay Replacement (UL/front LEDs version), Reinstall wires and practice Turbo Gorilla Grip on them: crwdns2935265:00crwdnd2935265:01crwdnd2935265:02crwdne2935265:0 JuiceBox EVSE Relay Replacement (UL/front LEDs version), Reinstall wires and practice Turbo Gorilla Grip on them: crwdns2935265:00crwdnd2935265:02crwdnd2935265:02crwdne2935265:0
Reinstall wires and practice Turbo Gorilla Grip on them
  • Open up the screw terminals of the new relay fully, so you can fit the wires in without fraying - or fit the new ferrules.

  • Insert the wires into the terminals per the large silkscreen text adjacent to the terminals (note the red/black don't match the small wires).

  • Again, note the direction of the large current sensor around the red line - go back and check your notes if it matches your original.

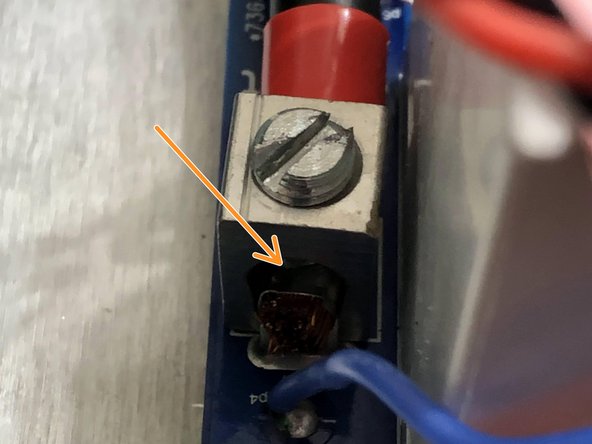
  • Using a medium-large flat blade screwdriver, practice Turbo Gorilla Grip on all 4 screw terminals. Tighten it almost 'til you think it'll break, then a little further. Screw it back and forth a couple times and see if you can get even more crush out of it. The goal is to fully flatten the strands so it won't settle in the future.

  • (This is less important if you've added ferrules, which already provide a good amount of crush to the wires! But still, give 'er a good crank!)

Open de schroefklemmen van het nieuwe relais volledig, zodat je de draden er zonder rafelen in kunt steken - of monteer de nieuwe adereindhulzen.

Steek de draden in de aansluitingen volgens de grote tekst naast de aansluitingen (merk op dat rood/zwart niet overeenkomt met de kleine draden).

Let opnieuw op de richting van de grote stroomsensor rond de rode draad. Controleer je aantekeningen of deze overeenkomen met het origineel.

Gebruik een middelgrote platte schroevendraaier en doe een hechtend afdichtmiddel op alle vier de schroefaansluitingen. Draai de schroef bijna vast totdat je denkt dat hij zal breken, en dan nog een beetje verder. Draai hem een paar keer heen en weer en kijk of je deze nog meer aan kunt draaien. Het doel is om de draadaders volledig plat te maken.

Vertaling hier toevoegen

crwdns2944171:0crwdnd2944171:0crwdnd2944171:0crwdnd2944171:0crwdne2944171:0