crwdns2935425:08crwdne2935425:0


-
Open up the screw terminals of the new relay fully, so you can fit the wires in without fraying - or fit the new ferrules.
-
Insert the wires into the terminals per the large silkscreen text adjacent to the terminals (note the red/black don't match the small wires).
-
Again, note the direction of the large current sensor around the red line - go back and check your notes if it matches your original.
-
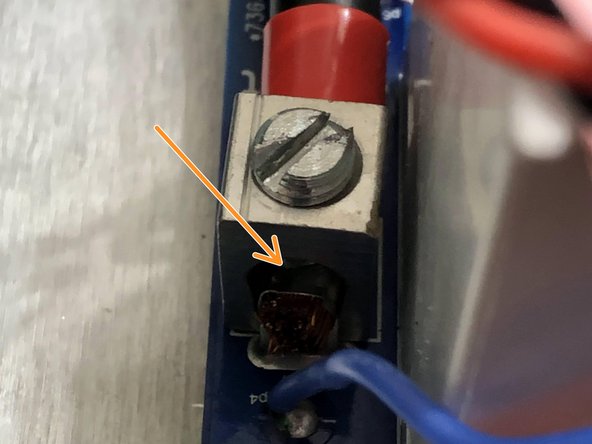
Using a medium-large flat blade screwdriver, practice Turbo Gorilla Grip on all 4 screw terminals. Tighten it almost 'til you think it'll break, then a little further. Screw it back and forth a couple times and see if you can get even more crush out of it. The goal is to fully flatten the strands so it won't settle in the future.
-
(This is less important if you've added ferrules, which already provide a good amount of crush to the wires! But still, give 'er a good crank!)
crwdns2944171:0crwdnd2944171:0crwdnd2944171:0crwdnd2944171:0crwdne2944171:0