crwdns2935425:03crwdne2935425:0
crwdns2931653:03crwdne2931653:0

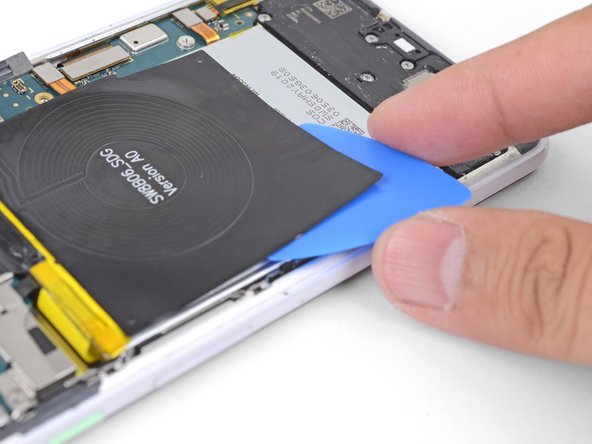
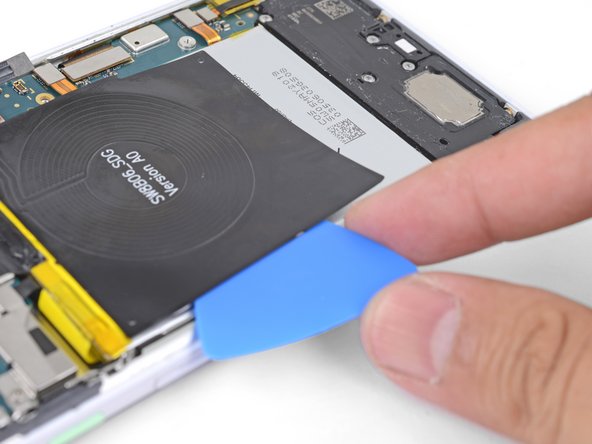


Slice through the coil adhesive
-
Insert the flat end of an opening pick underneath a corner of the charging coil.
-
Push the pick slowly and firmly under the coil to loosen the adhesive.
-
The adhesive is mostly around the perimeter of the wireless coil. Use the opening pick to slowly slice through the adhesive.
crwdns2944171:0crwdnd2944171:0crwdnd2944171:0crwdnd2944171:0crwdne2944171:0