crwdns2931529:0crwdnd2931529:0crwdnd2931529:0crwdnd2931529:06crwdnd2931529:0crwdne2931529:0
crwdns2935425:024crwdne2935425:0
crwdns2931653:024crwdne2931653:0

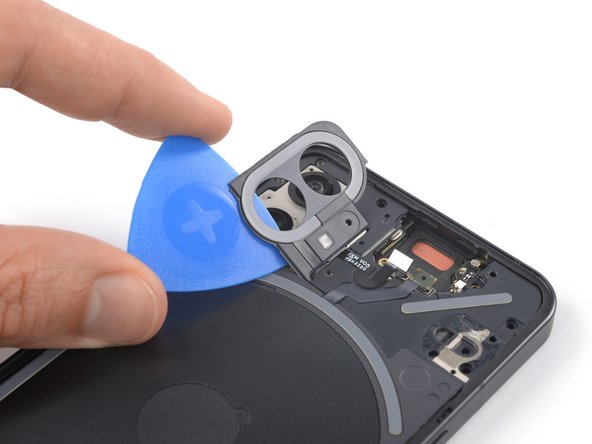
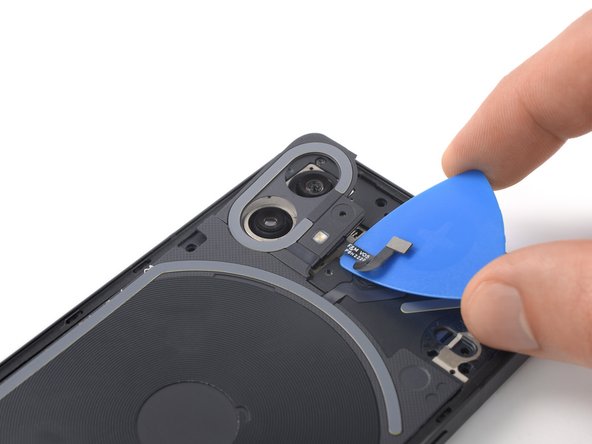


Separate the camera cover and flash assembly
-
Return the charging coil to its original position.
-
Carefully slide an opening pick underneath the camera cover and flash assembly to separate it from the motherboard cover.
crwdns2944171:0crwdnd2944171:0crwdnd2944171:0crwdnd2944171:0crwdne2944171:0