crwdns2931529:0crwdnd2931529:0crwdnd2931529:0crwdnd2931529:06crwdnd2931529:0crwdne2931529:0
crwdns2935425:05crwdne2935425:0
crwdns2931653:05crwdne2931653:0


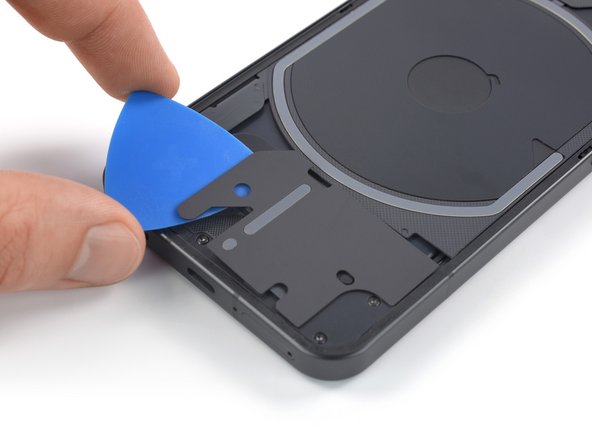


Remove the bottom LED glyph assembly
-
Slide an opening pick underneath the right, bottom and left edge of the bottom LED assembly to carefully separate it from the daughterboard cover.
crwdns2944171:0crwdnd2944171:0crwdnd2944171:0crwdnd2944171:0crwdne2944171:0