crwdns2935425:06crwdne2935425:0
crwdns2931653:06crwdne2931653:0


Z Axis 1
-
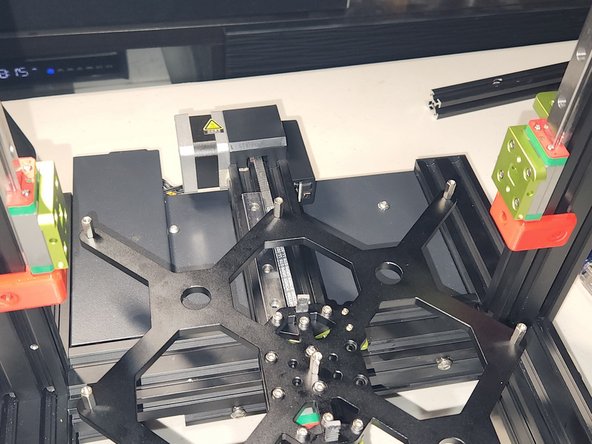
Secure the Z stepper motors to the 2 new metal brackets with 4x M3x12 countersunk screws.
-
Secure the Z stepper metal brackets to the frame with 4x M4x12 socket head cap screws and 4x M4 T nuts. The Z steppers can sit flush on the top of the Y 4040.
-
Check the alignment. Make sure the stepper motor is straight in the mount.
-
Mount the 2x spider couplers to the stepper motors.
-
Take your Left and Right Z MGN brackets and thread them into their MGN carriages with 8x M3x6 socket head cap screws. We will tighten them during another step.
crwdns2944171:0crwdnd2944171:0crwdnd2944171:0crwdnd2944171:0crwdne2944171:0