crwdns2935425:07crwdne2935425:0
crwdns2931653:07crwdne2931653:0


Motherboard/LCD Removal
-
On the top of the electronics enclosure remove the 2x M3x6 button head screws with a 2mm allen wrench.
-
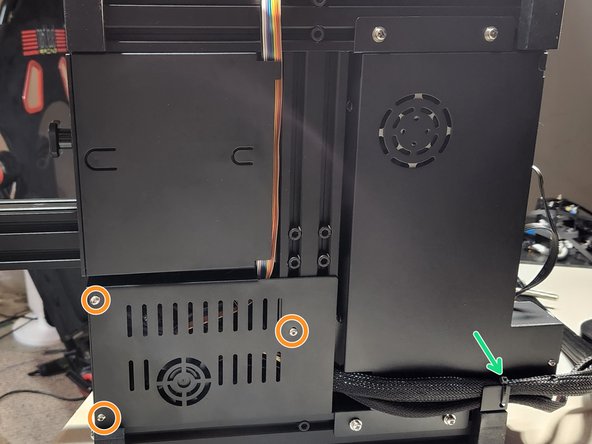
On the bottom remove the 3x M3x6 button head screws with a 2mm allen wrench.
-
Now is also a good time to cut that zip-tie.
-
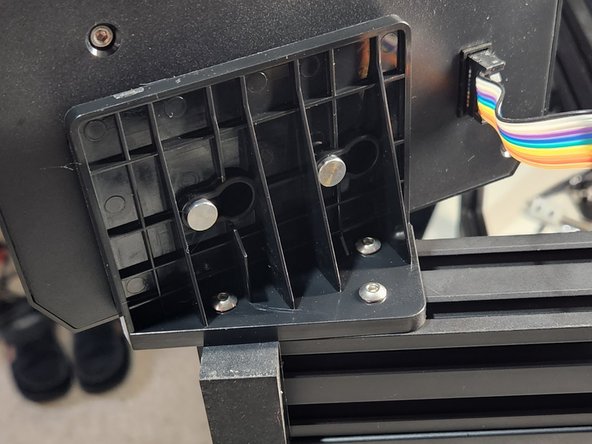
Remove the 2x M5x12 button head screws on the front of the extrusion was a 3mm allen wrench.
-
Disconnect the wires as needed to remove the mother mounting plates.
-
Remove the 3x M4x10 button head screws with a 2.5mm allen wrench removing the LCD and mounting bracket.
crwdns2944171:0crwdnd2944171:0crwdnd2944171:0crwdnd2944171:0crwdne2944171:0