crwdns2935425:09crwdne2935425:0
crwdns2931653:09crwdne2931653:0

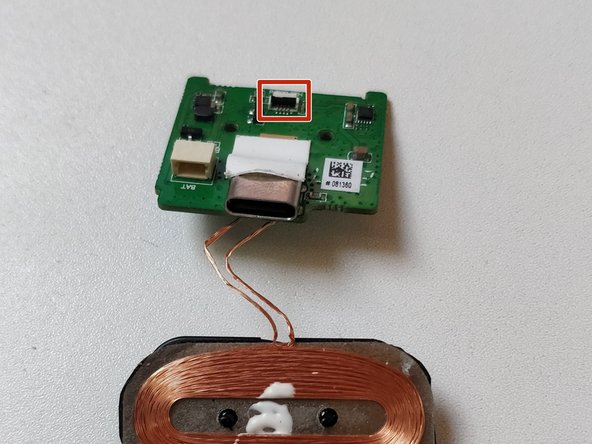


Remove the main circuit board
-
Remove the two phillips #00 screws from the main circuit board
-
There is a connector cable that needs to be removed from the print plate. This can be removed by gently pulling out the main circuit board from the inner case
crwdns2944171:0crwdnd2944171:0crwdnd2944171:0crwdnd2944171:0crwdne2944171:0