crwdns2935425:03crwdne2935425:0
crwdns2931653:03crwdne2931653:0


Vibrator reassembly instructions
-
Peel off the vibrator adhesive from its liner and apply the sticky end to the bottom of the vibrator.
-
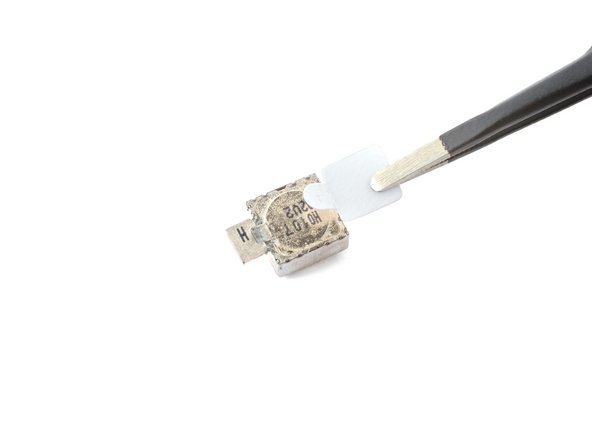
Use tweezers, or your fingers, to pull up on the white liner to expose the top layer of adhesive.
-
Insert the vibrator and apply pressure to adhere it to the frame.
| [title] Vibrator reassembly instructions | |
| [* icon_reminder] During reassembly, follow these instructions to reinstall your vibrator: | |
| [* black] Peel off the vibrator adhesive from its liner and apply the sticky end to the bottom of the vibrator. | |
| - | [* black] Use tweezers, or your fingers, to pull up on the white liner to expose the top layer of adhesive. |
| + | [* black] Use [product|IF145-020|tweezers], or your fingers, to pull up on the white liner to expose the top layer of adhesive. |
| [* black] Insert the vibrator and apply pressure to adhere it to the frame. | |
| [* icon_note] The adhesive is very thin and hard to distinguish from the liner. Use your fingers to check if the adhesive transferred correctly. |
crwdns2944171:0crwdnd2944171:0crwdnd2944171:0crwdnd2944171:0crwdne2944171:0