crwdns2933423:0crwdne2933423:0

Lenovo ThinkPad X201 Hard Drive Replacement

crwdns2936315:0crwdne2936315:0
crwdns2936323:0crwdne2936323:0
crwdns2931653:06crwdne2931653:0
Lenovo ThinkPad X201 Hard Drive Replacement, Put a new drive in the bracket: crwdns2935265:00crwdnd2935265:01crwdnd2935265:03crwdne2935265:0 Lenovo ThinkPad X201 Hard Drive Replacement, Put a new drive in the bracket: crwdns2935265:00crwdnd2935265:02crwdnd2935265:03crwdne2935265:0 Lenovo ThinkPad X201 Hard Drive Replacement, Put a new drive in the bracket: crwdns2935265:00crwdnd2935265:03crwdnd2935265:03crwdne2935265:0
Put a new drive in the bracket
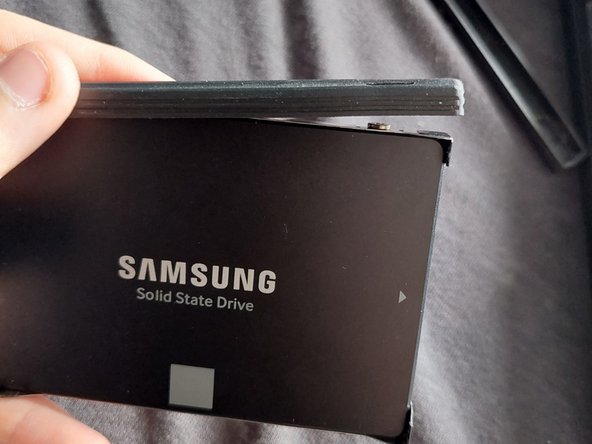
  • Get your new drive, and just put it in. Make sure the SATA ports face the end of the bracket that does not have the pull tab, and that the L-shaped connectors have their short side pointing down towards the metal plate.

  • Screw the four screws back in, and put the protective rubber back on the sides of the bracket.

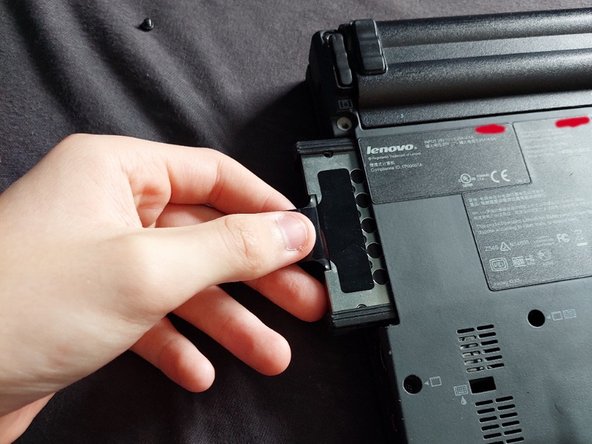
  • Flip the drive upside down, with the gold contacts facing towards you and gently put it back in the drive slot.

  • Make sure that the pull tab is facing away from the laptop.

crwdns2935429:0crwdne2935429:0

crwdns2935429:0crwdne2935429:0

crwdns2935429:0crwdne2935429:0

crwdns2935429:0crwdne2935429:0

crwdns2944171:0crwdnd2944171:0crwdnd2944171:0crwdnd2944171:0crwdne2944171:0