crwdns2933423:0crwdne2933423:0

Sony h.ear on 3 Headband Arch teardown

crwdns2936315:0crwdne2936315:0
crwdns2936325:0crwdne2936325:0
crwdns2931653:03crwdne2931653:0
Sony h.ear on 3 Headband Arch teardown, Unhook the rubber rings on the rear pegs: crwdns2935265:00crwdnd2935265:01crwdnd2935265:03crwdne2935265:0 Sony h.ear on 3 Headband Arch teardown, Unhook the rubber rings on the rear pegs: crwdns2935265:00crwdnd2935265:02crwdnd2935265:03crwdne2935265:0 Sony h.ear on 3 Headband Arch teardown, Unhook the rubber rings on the rear pegs: crwdns2935265:00crwdnd2935265:03crwdnd2935265:03crwdne2935265:0
Unhook the rubber rings on the rear pegs
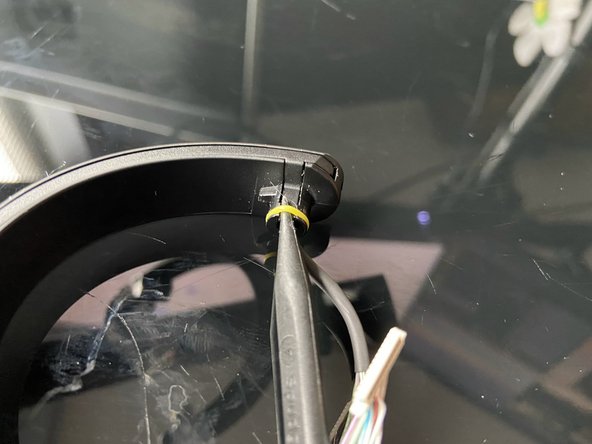
  • Keeping the headband in the same position they were in for the last step, use the pointed end of a spudger to gently unhook the yellow rubber rings from each of the rear pegs (that had the brackets around them).

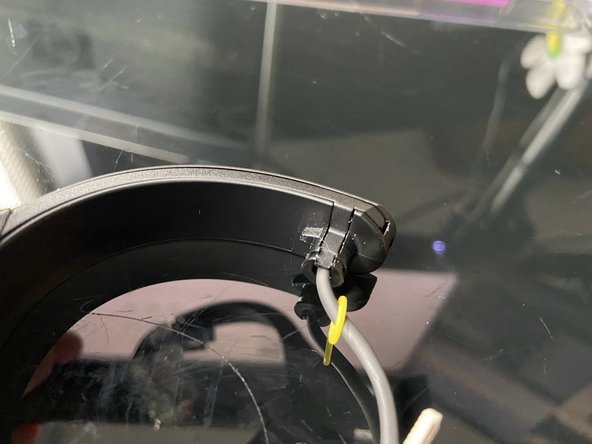
  • Gently thread the rubber rings out of the headband cable.

  • The rubber rings on the front pegs do not need to be removed because they don't hold anything in place. They just provide friction to the swivel mechanism.

crwdns2935429:0crwdne2935429:0

crwdns2935429:0crwdne2935429:0

crwdns2935429:0crwdne2935429:0

crwdns2944171:0crwdnd2944171:0crwdnd2944171:0crwdnd2944171:0crwdne2944171:0