crwdns2935425:010crwdne2935425:0
crwdns2931653:010crwdne2931653:0


Remove Front Panel (2/2)
-
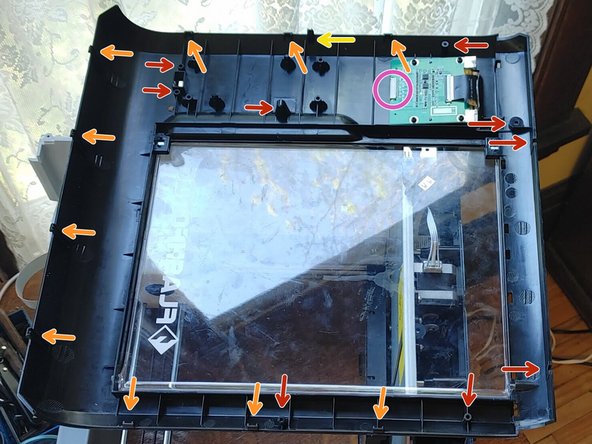
Use a plastic spludger or flat head screwdriver to release the four push clips at the bottom of the panel.
-
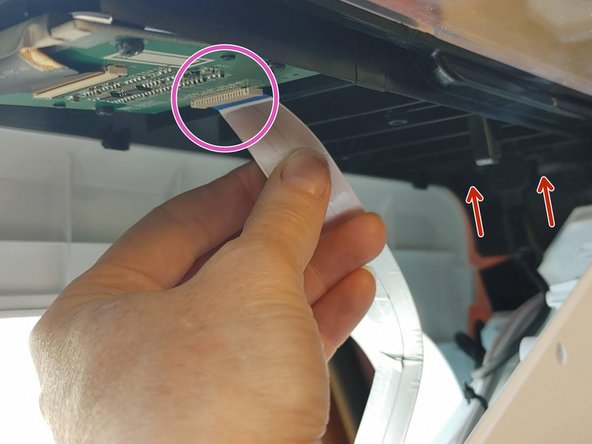
Carefully pull the top of the front panel out and away from the printer, BUT ONLY A FEW INCHES!
-
Now that you can access it, gently pull out the wire tape from the input screen.
-
Below the wire tape at the very bottom of the front panel, find and remove the two black phillips screws securing the USB port.
-
Now the front panel can be pulled completely away from the printer.
crwdns2944171:0crwdnd2944171:0crwdnd2944171:0crwdnd2944171:0crwdne2944171:0